

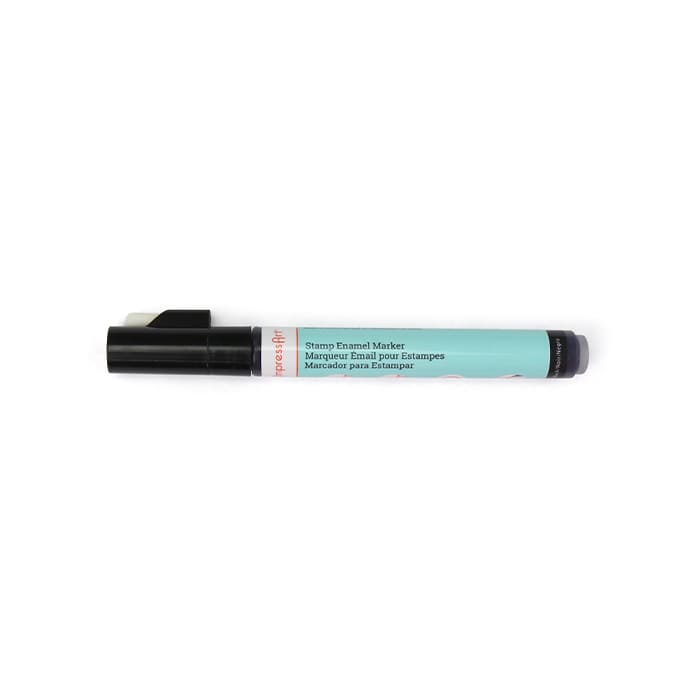
Stamp Enamel
Hide

Step 1
After stamping is complete, highlight impressions with stamp enamel by running the tip of the marker over the stamped areas.

Step 2
Wait 3-5 minutes, until the enamel dries completely.
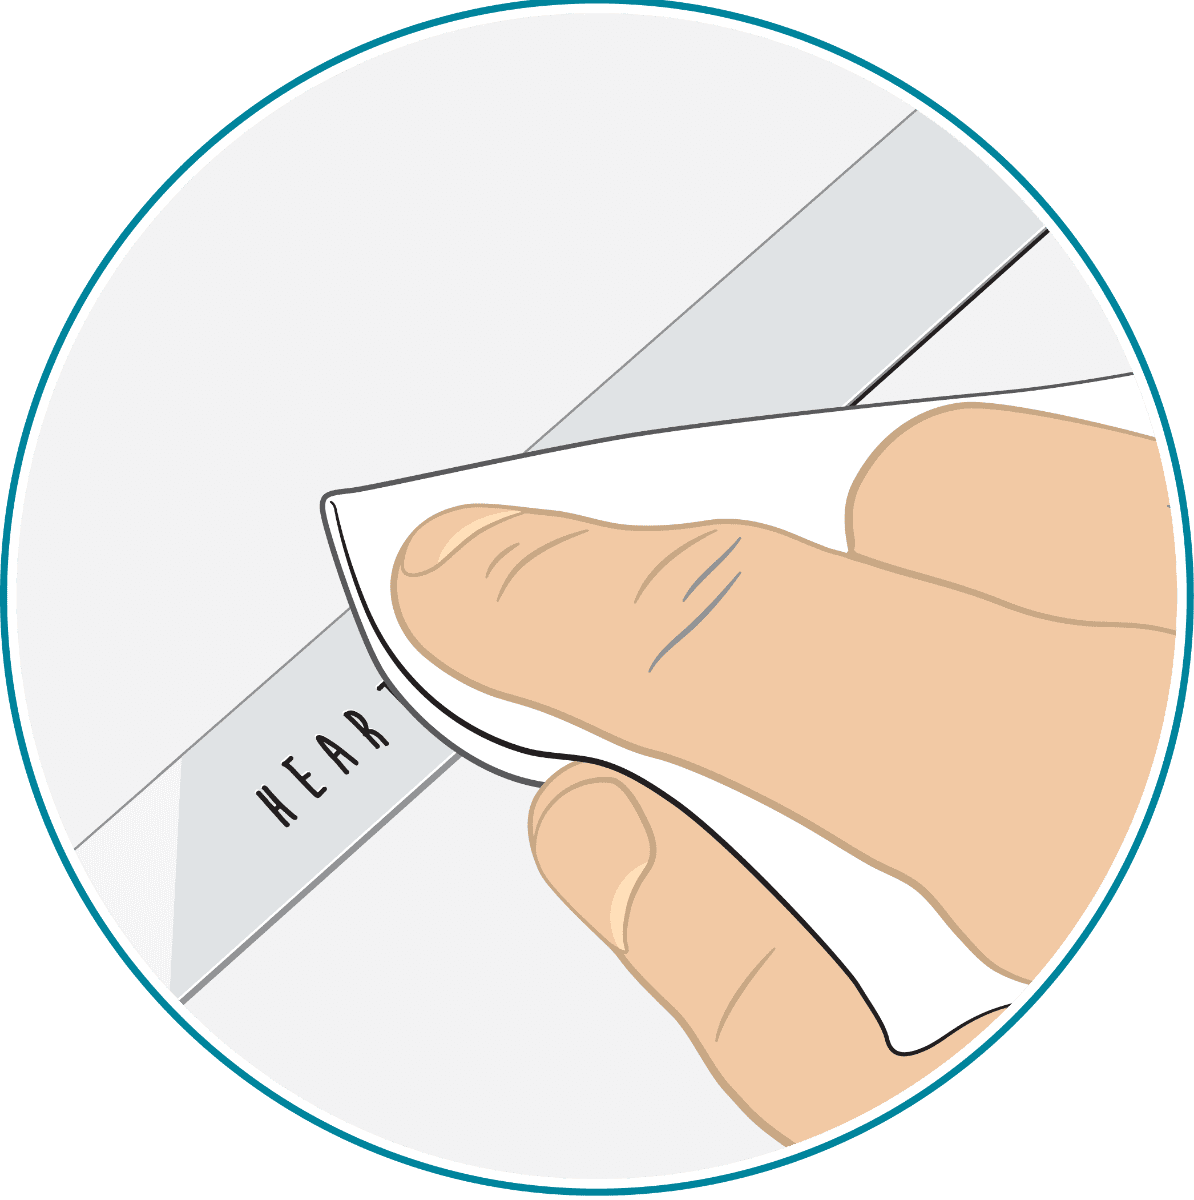
Step 3
Once dry, take a paper towel and dab the enamel over the impressions before wiping away the excess enamel from the raised surfaces of the stamping blank.
Tip: Use a rubbing alcohol pad or rubbing alcohol on a paper towel to remove any remaining, dried enamel.
Step 4
Reapply stamp enamel as needed.
Tip: Apply more than one coat of ImpressArt’s Antique Enamel for a slightly darker color.
Note: Take care of personalized, hand stamped jewelry and keepsakes. Remove jewelry when sleeping and avoid getting jewelry wet with water, soap, perfume, lotion, sweat, and other chemicals. Contact with these solutions will remove the enamel from the stamped impressions. Reapply stamp enamel to bring hand stamped pieces back to life.
Stamp Enamel Marker Directions & Care
-
Initiate
For brand new Stamp Enamel Markers, press the unprimed marker tip repeatedly on a paper towel until the tip of the marker is filled with enamel.
Note: Do NOT shake the marker.
-
Replace
If the tip of the marker becomes damaged or unusable, replace it with the nib replacement found on the cap. Simply pull the damaged tip out of the enamel marker and insert the replacement nib until it's firmly in place. Initiate new nib by priming the tip of the marker.
-
Storage
Place the cap firmly back on the marker after each use. Store Stamp Enamel Markers horizontally or vertically (with cap facing up).