Level 3
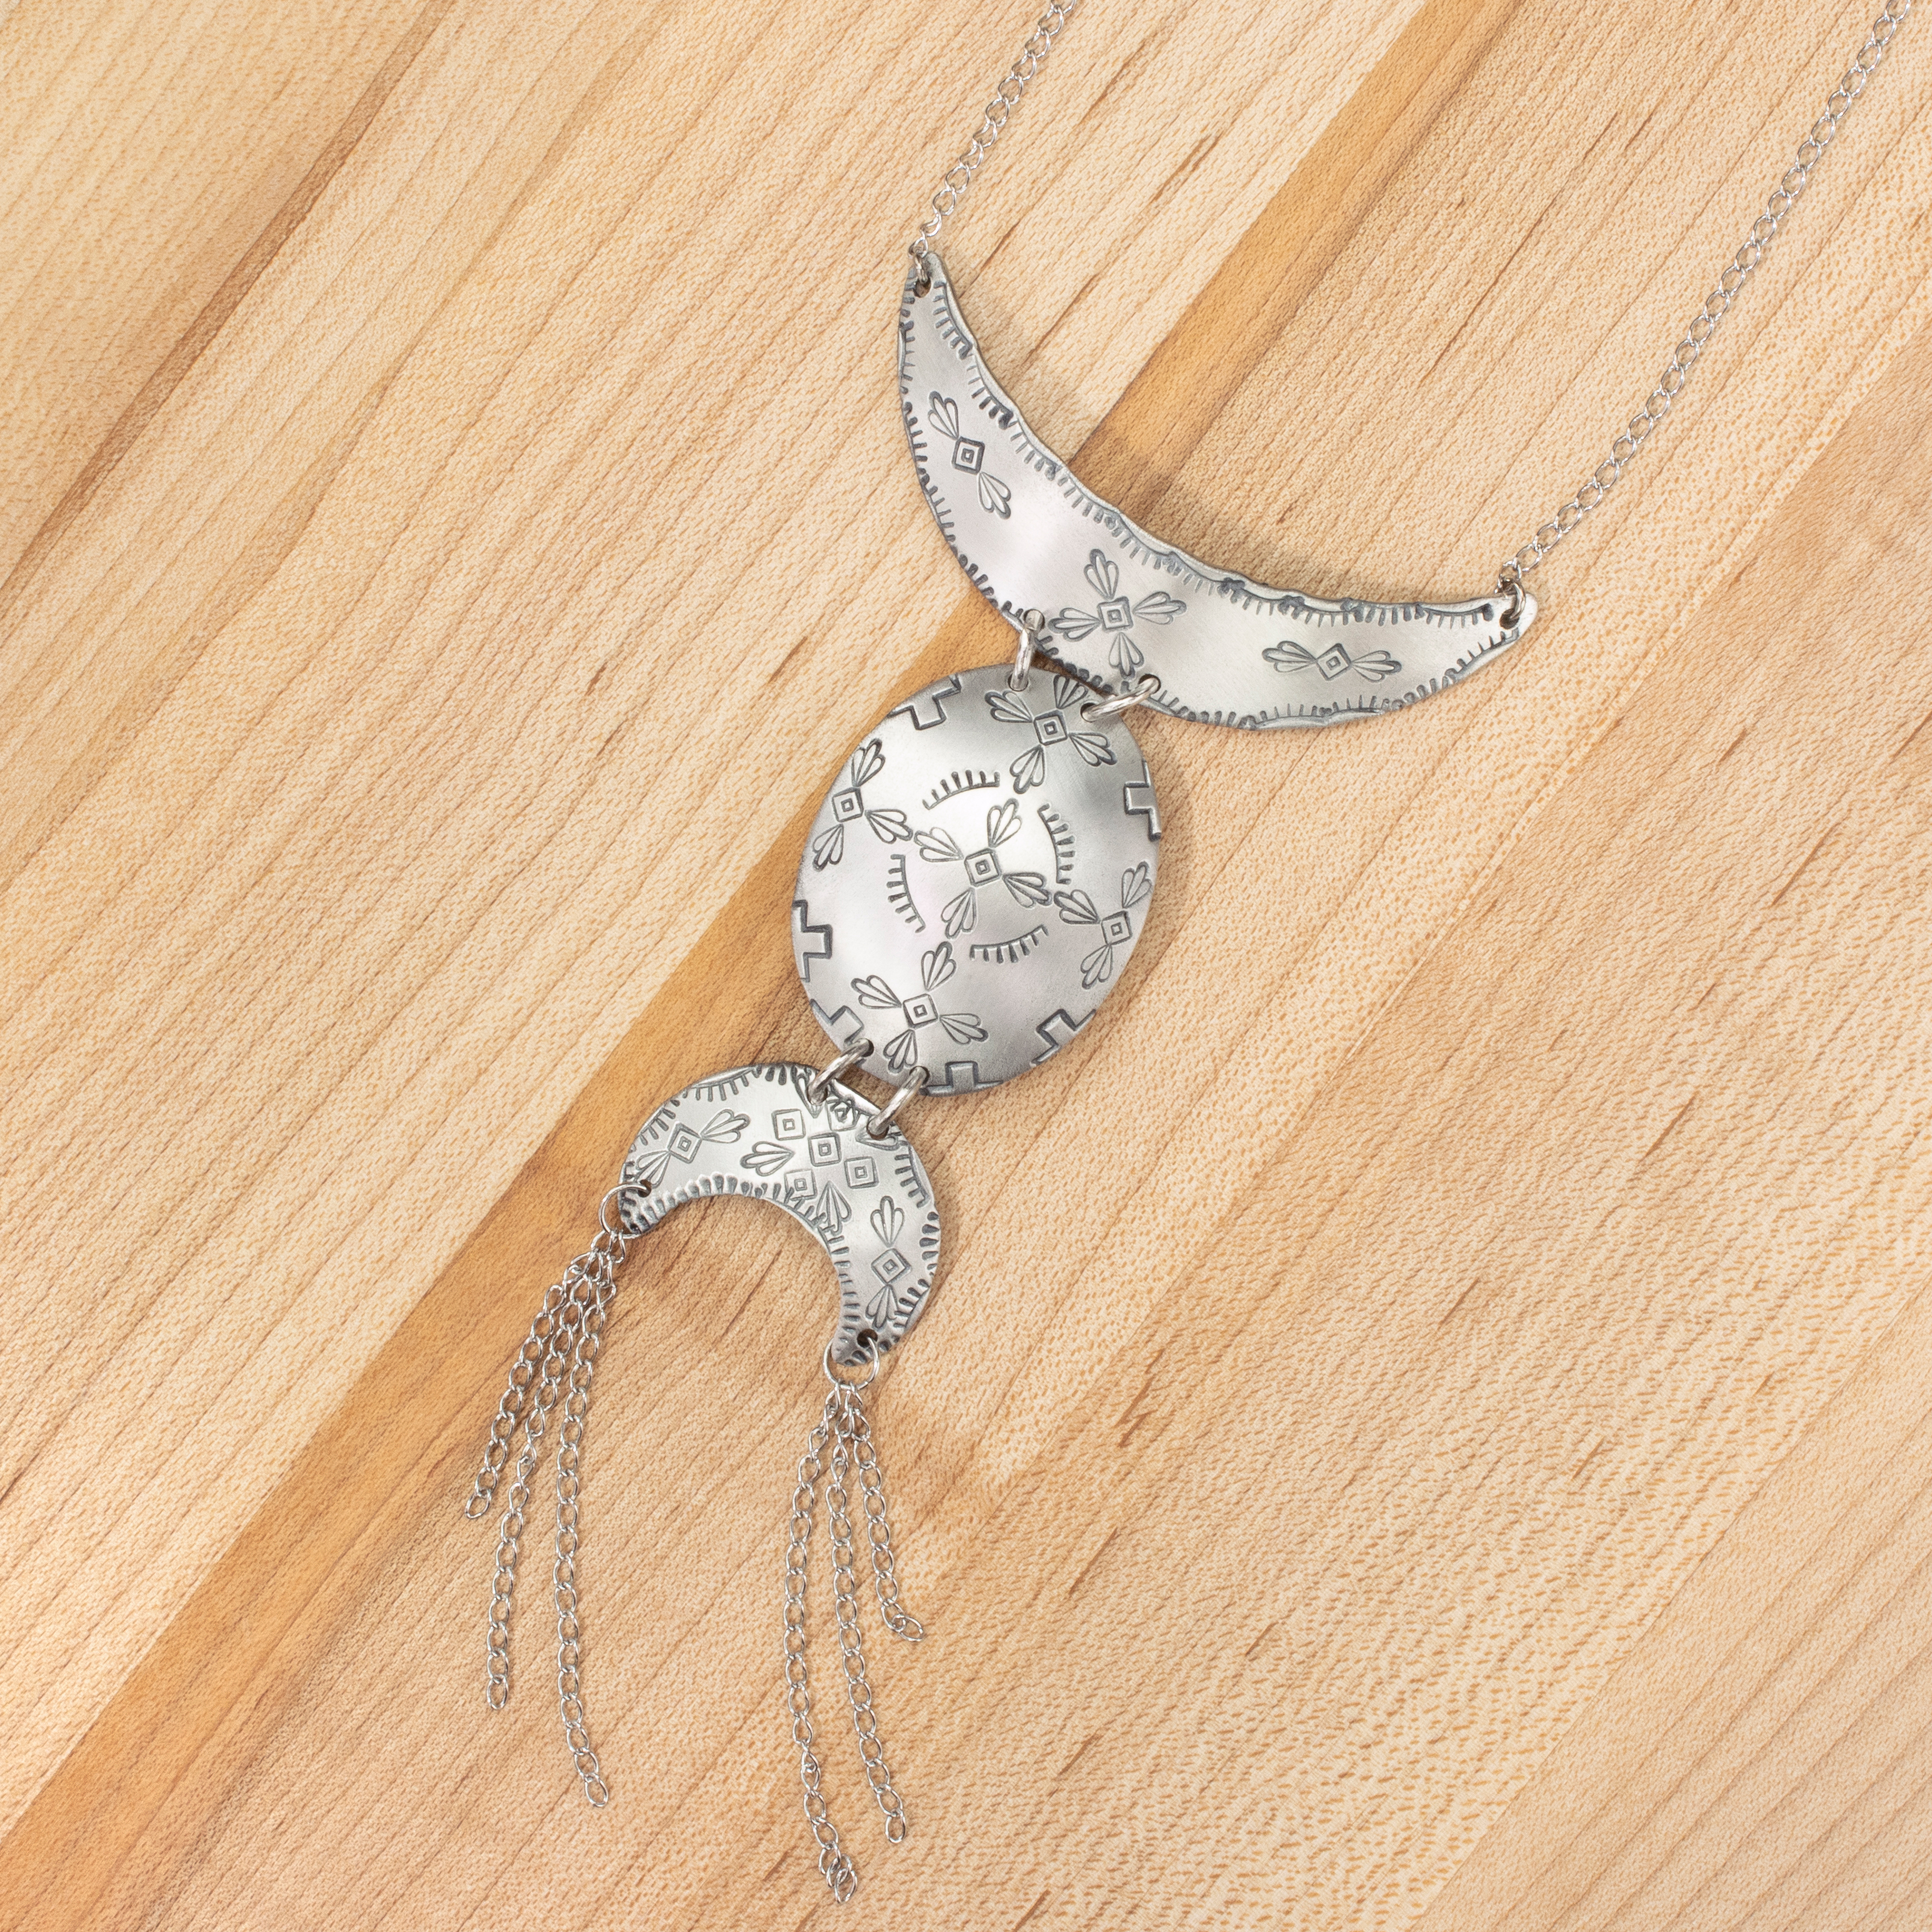
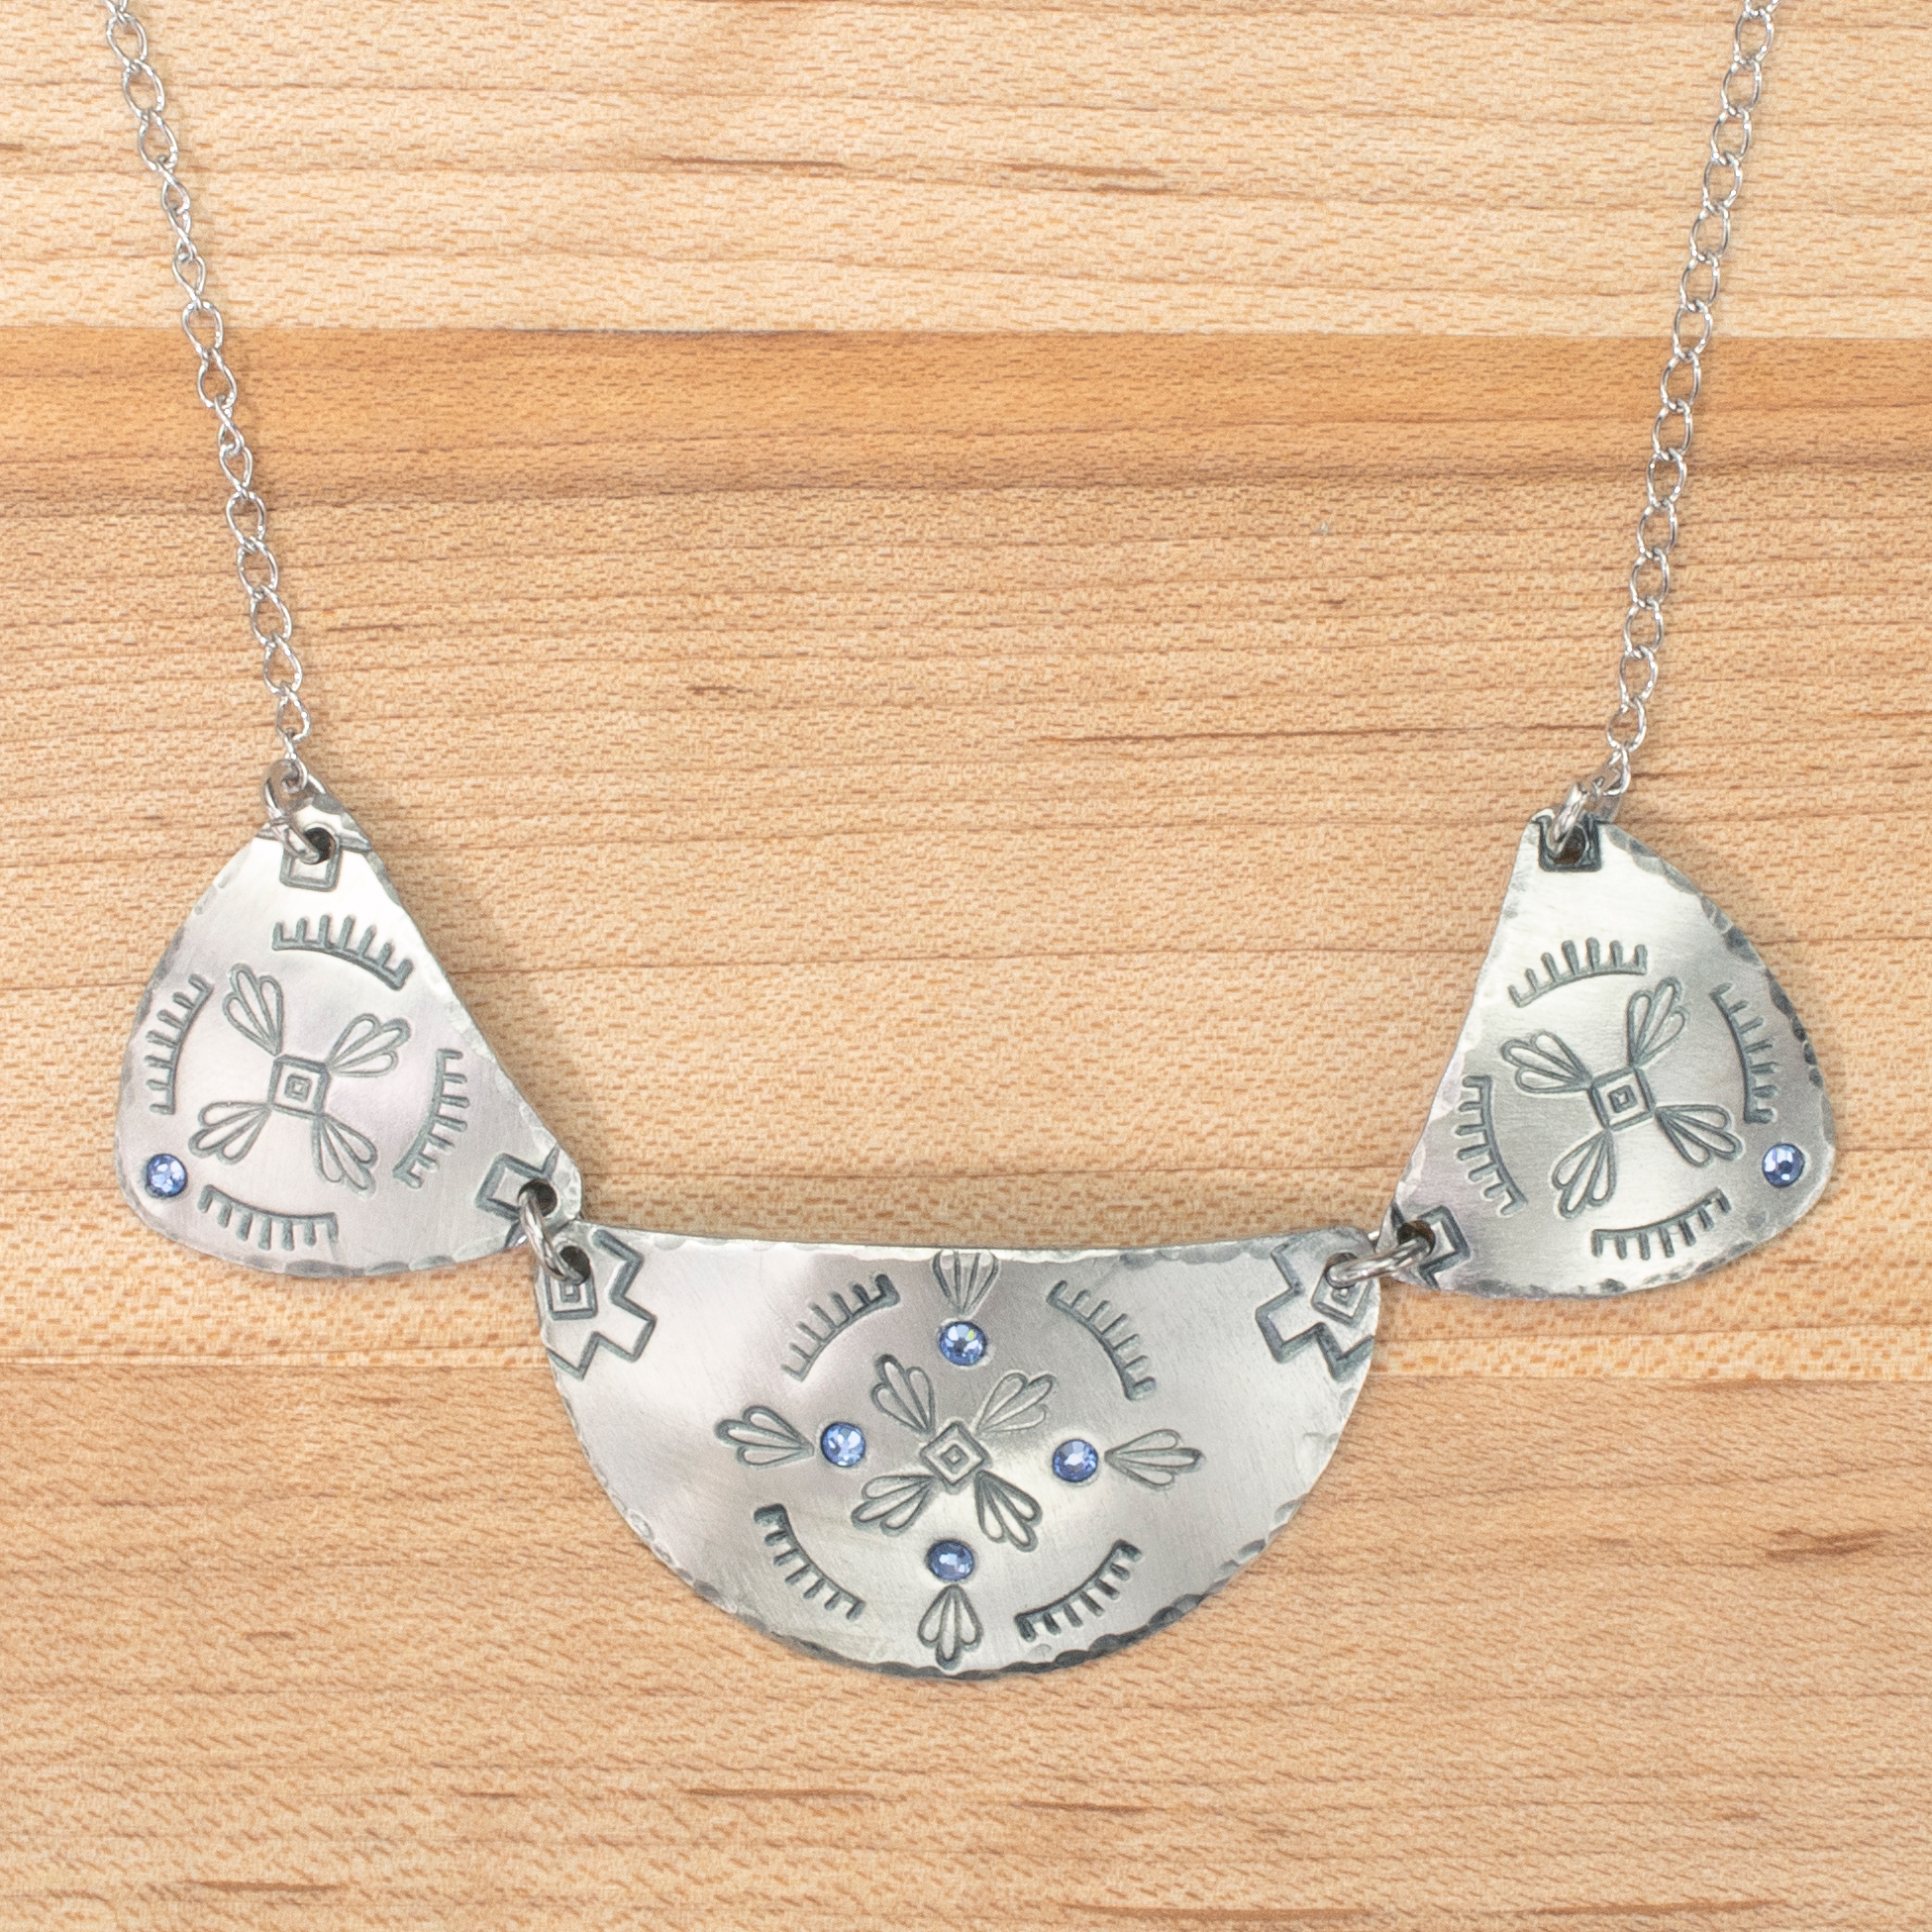
Perfect Trio
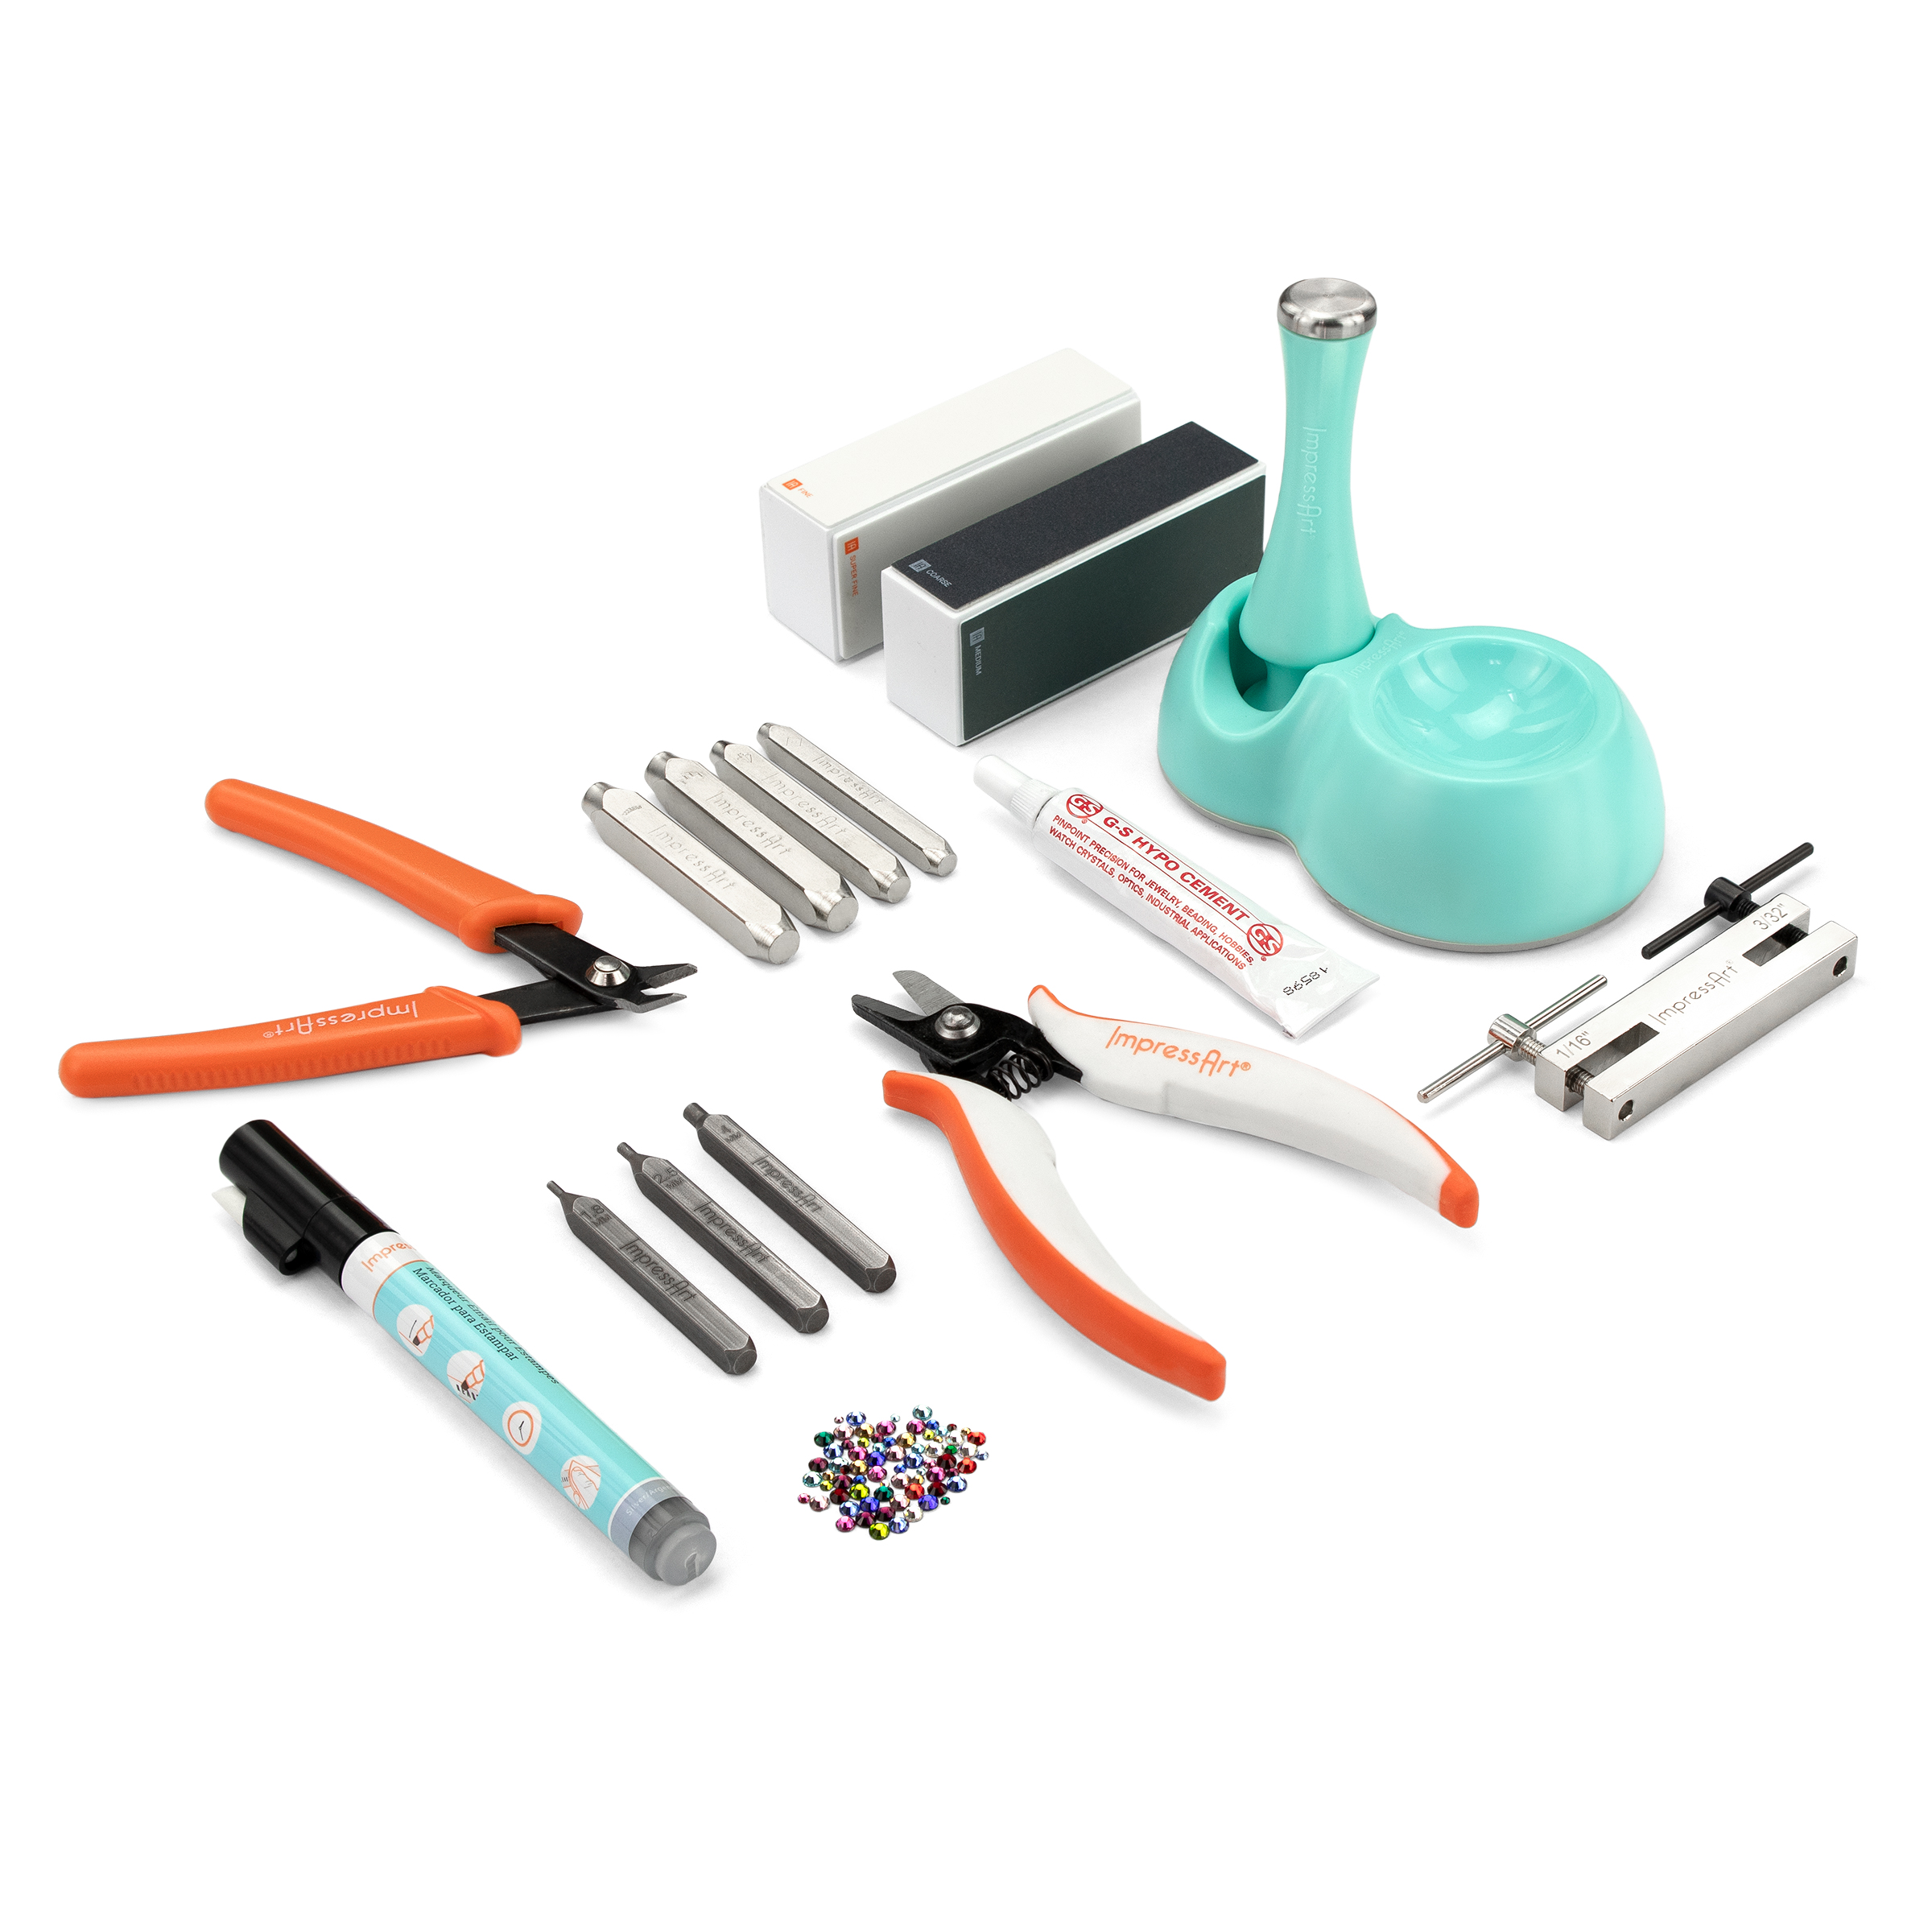
Tools & Supplies
- Ergo-Angle Metal Stamping Hammer
- Steel Block
- Stamp Enamel Marker, Black
- Stamp Guides
- Stamp Tape
- Stamp Enamel Marker, Silver
- Multi-Function Hammer Kit
- Southwestern Mandala Stamp Pack
- Crystal Setter w/ Birthstone Crystals
- G.S. Hypo, Jewelry Glue
- High Polish Finishing Block
- Matte Finish Buffing Block
- 2 Hole Screw Down Punch
- Dapping Kit
- Flush Cutters
- Metal Shears
- Chain Nose Pliers (2)
- Circle Stamping Blank, 1 1/4
- Guitar Pick Stamping Blank, 7/8" x 7/8" (2)
- Artisan Jump Rings, Plated, 7mm
- Tweezers
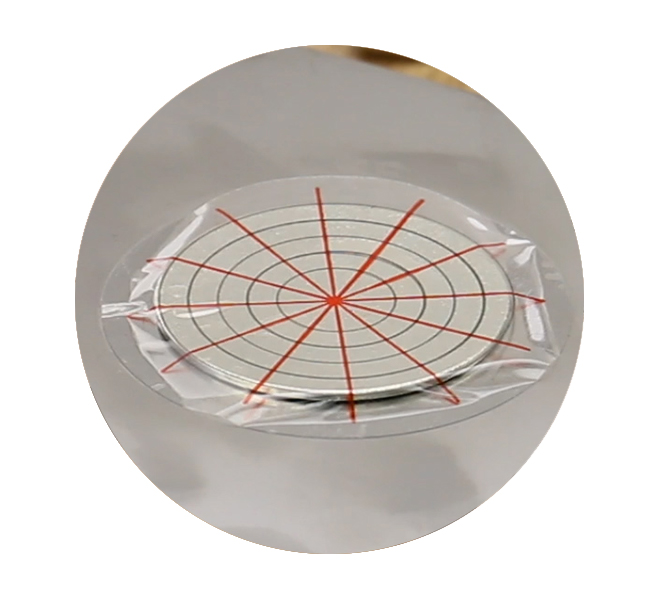
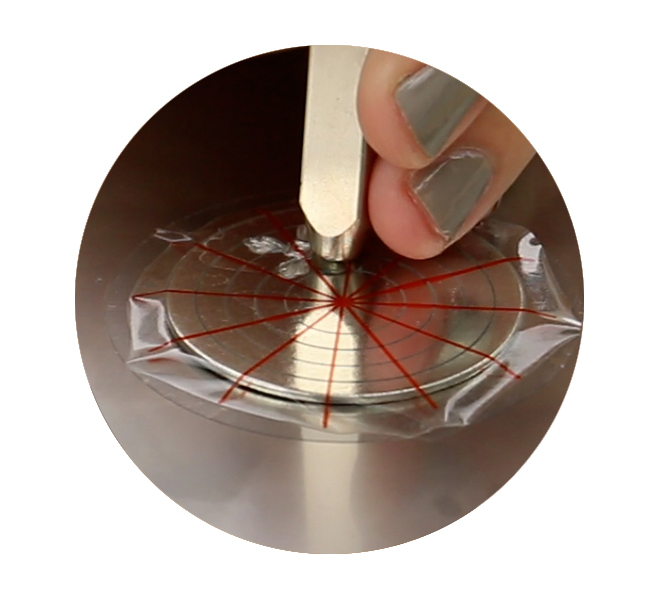
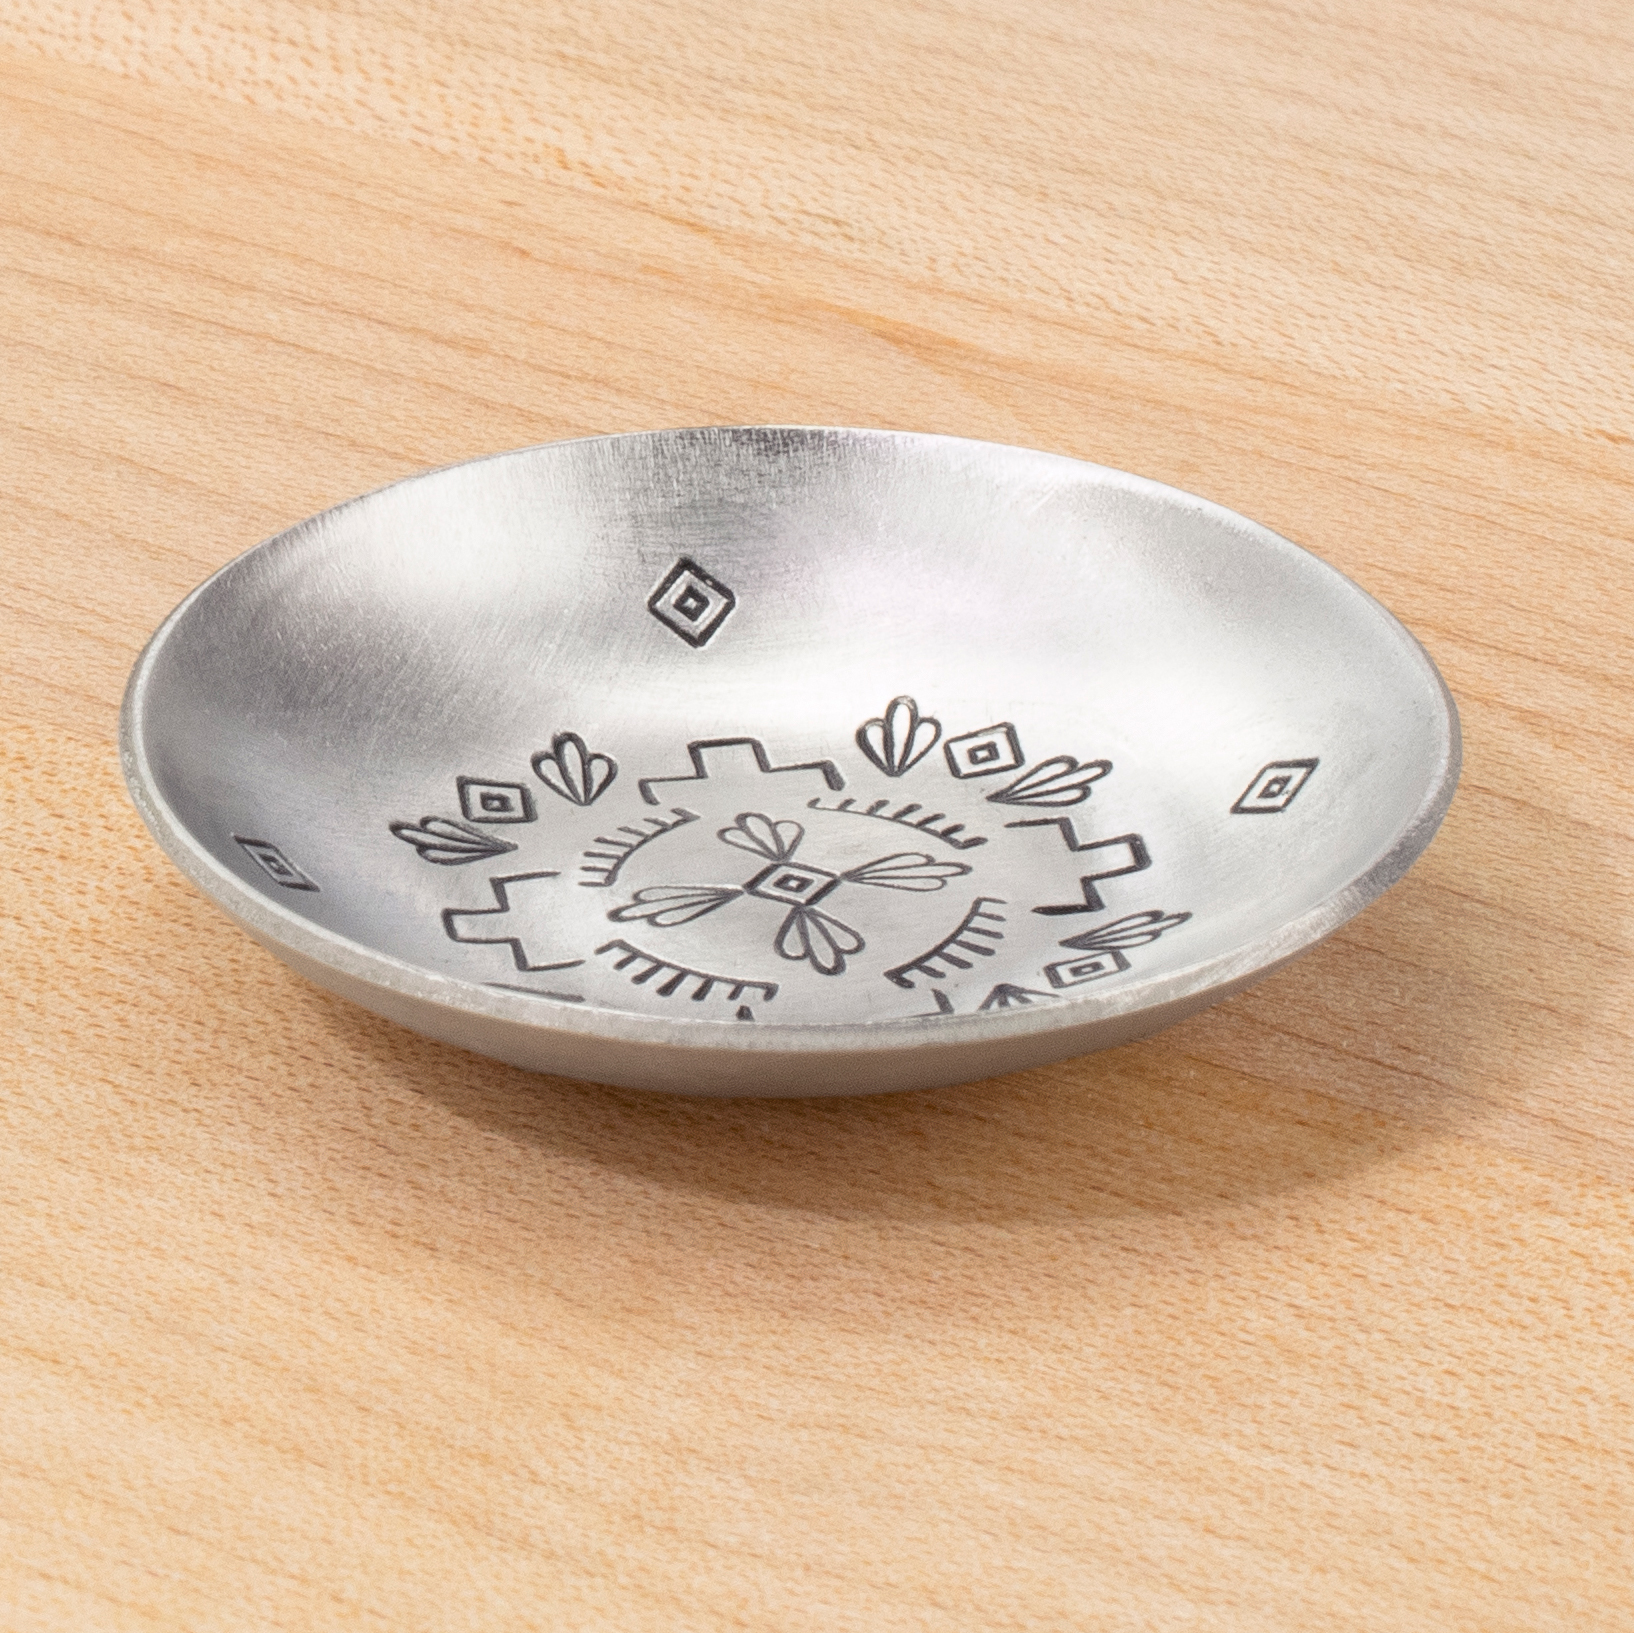
NOTE: The circle blank will cut in half to make the pendant (STEP 6). So when stamping, focus on stamping the bottom half of the circle blank.
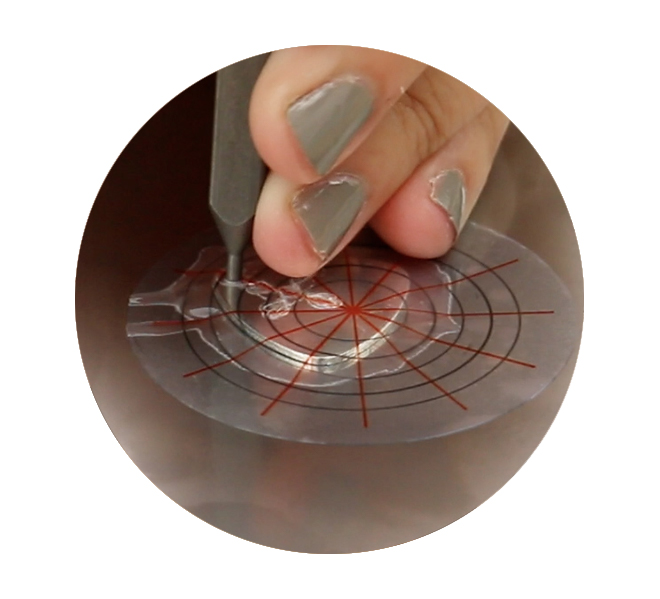
Start mandala pattern from the center of the bottom half of the circle (three grid circles in on the center orange line) and use the lines and circles marks as guides to assist with spacing. Hold stamps flat and firmly in place by anchoring the side of your hand on workspace. Strike design stamps once with medium force using the Metal Stamping Hammer.
TIP: If the stamp has an ImpressArt logo, make sure it is facing you so that the impression is stamped in the correct direction.
TIP: TILT & TAP: Use the Tilt & Tap technique to stamp 6mm and larger stamps, or stamps with more details. While applying pressure to the stamp, strike once with medium force. Then without lifting stamp, continue to strike while very slightly tilting the stamp in a circular motion to catch all sides of the design.

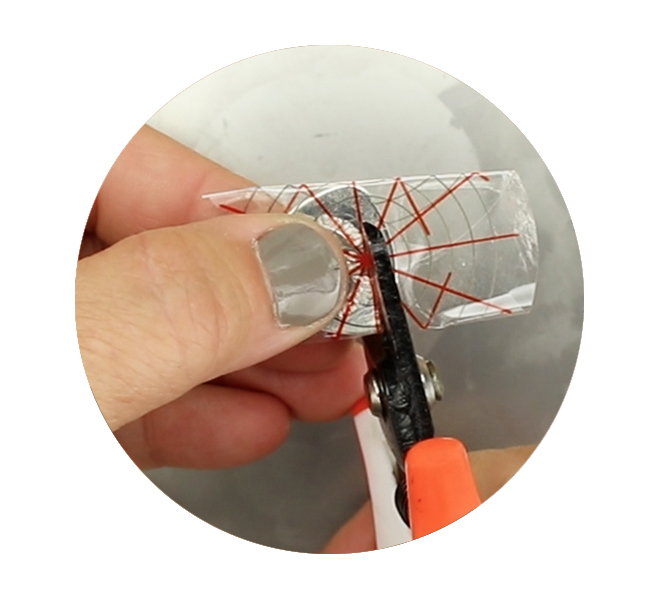
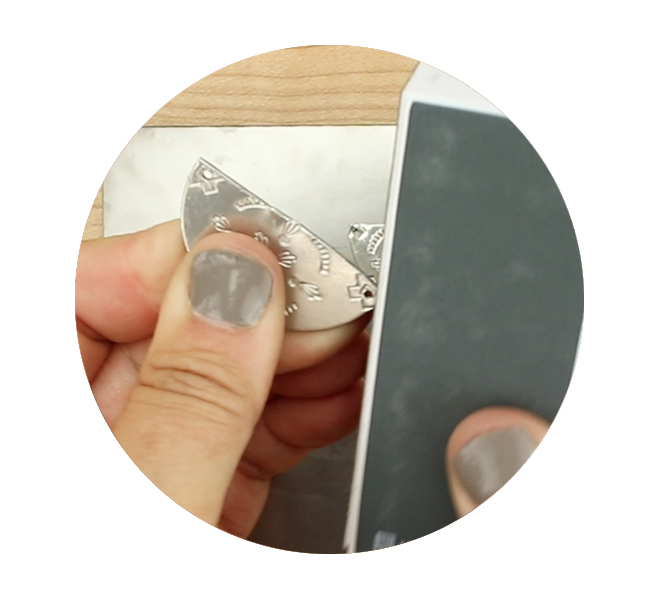
Using metal shears, cut the non-stamped part of the blank off. Gently fold over the sides of the pattern grid to the backside of the blank. Follow the center orange guide line in order to achieve a clean, straight line orange metal shears. Remove pattern grid.
TIP: Use tweezers to carefully remove any remaining stamp guide remnants from the stamped impressions. Make sure not to scratch the blank.
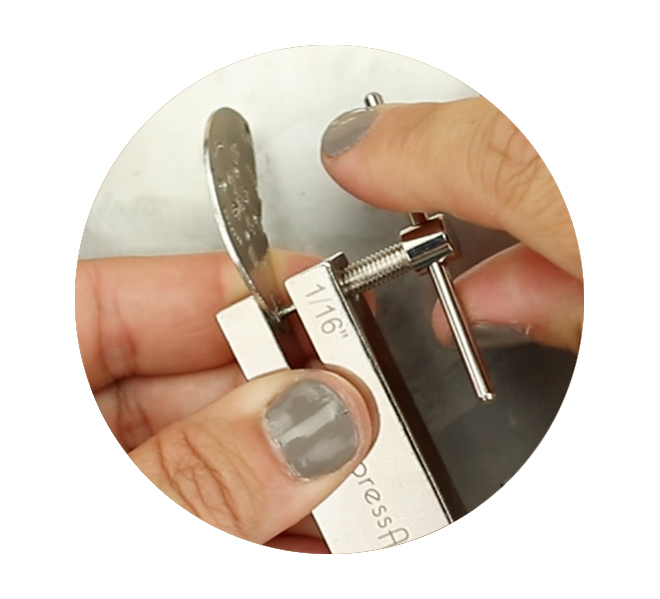
Pierce holes at the top two corners of each blank using the 1/16” punch of the Two Hole Screw Down Punch. Mark the desired location of the holes with a non-permanent marker. Line up the screw punch with the mark on the stamping blank. Once the punch and the mark are aligned, simply turn the handle of the screw down punch until the screw punch pierces through the stamping blank, leaving a clean crisp hole. Then twist the handle of the screw down punch in the opposite direction to raise the screw punch and remove blank. Wipe off any remaining marks.
TIP: Make sure not to screw the punch down too much as this will mar the surface of the blank and leave an unwanted impression of the base of the screw.
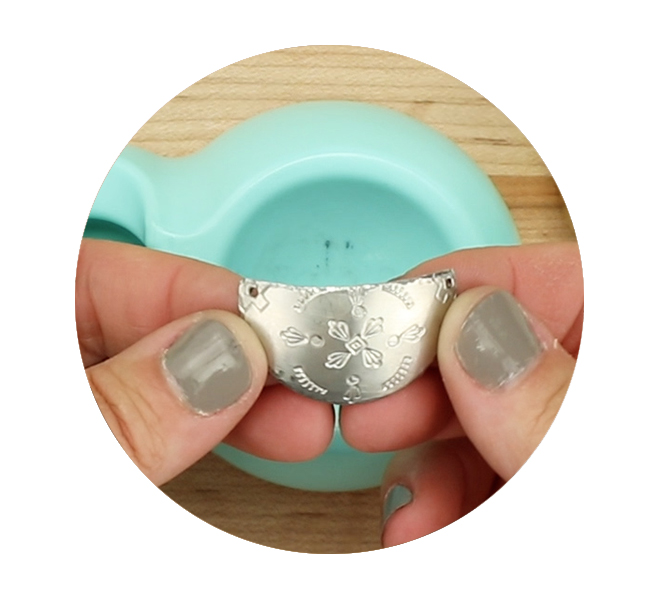
Use coarse grit on the Matte Finish Buffing Block to soften any sharp edges on the cut side pf the blanks. Hold the buffing block in the palm of hand and use downward strokes with moderate pressure to file sharp edges. Repeat until edges are smooth to touch.
NOTE: Be sure not to scratch the surface of the blank.
NOTE: Matte Finish Buffing blocks can be used on all ImpressArt blanks excluding ImpressArt Artisan collection plated blank.
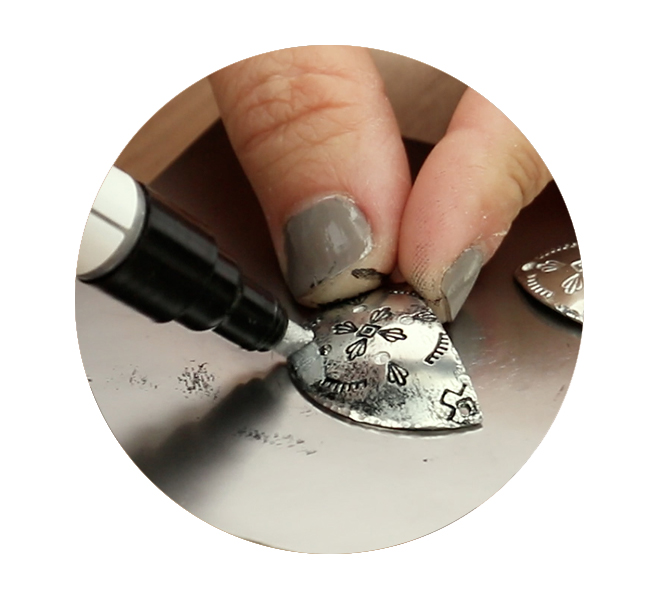
Place ball pein texture stamp in the Multi-Function Hammer, with the notch in the stamp facing down. Secure stamp in the hammer by tightening the screw at the bottom of the hammer. Set blank on stamping block. Hold the hammer with your palm of your hand over the screw. Then while holding the blank in place, stamp only the outskirts of the blank repeatedly with medium-light force until the entire outside edge of the blank is textured with a bevel effect.
TIP: Use stamp tape to secure the blank to the stamping block so it doesn’t move while texturing. You will be able to texture the blank through the tape.
TIP: Make sure you don’t over texture the holes on the blank.
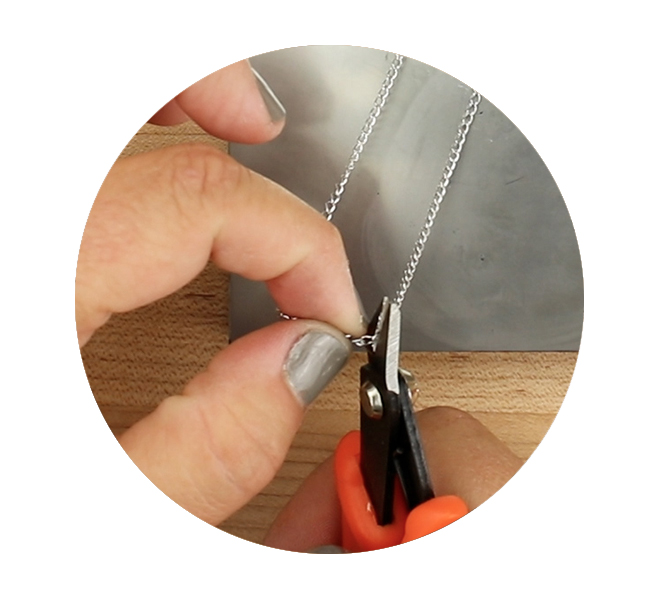
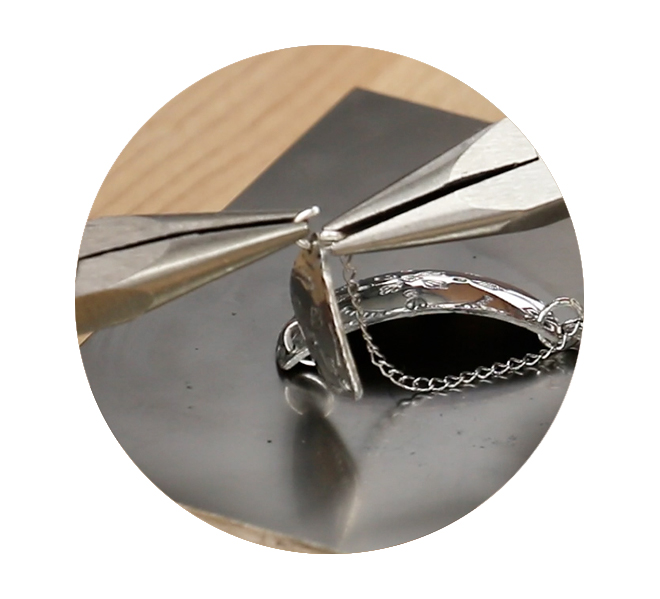
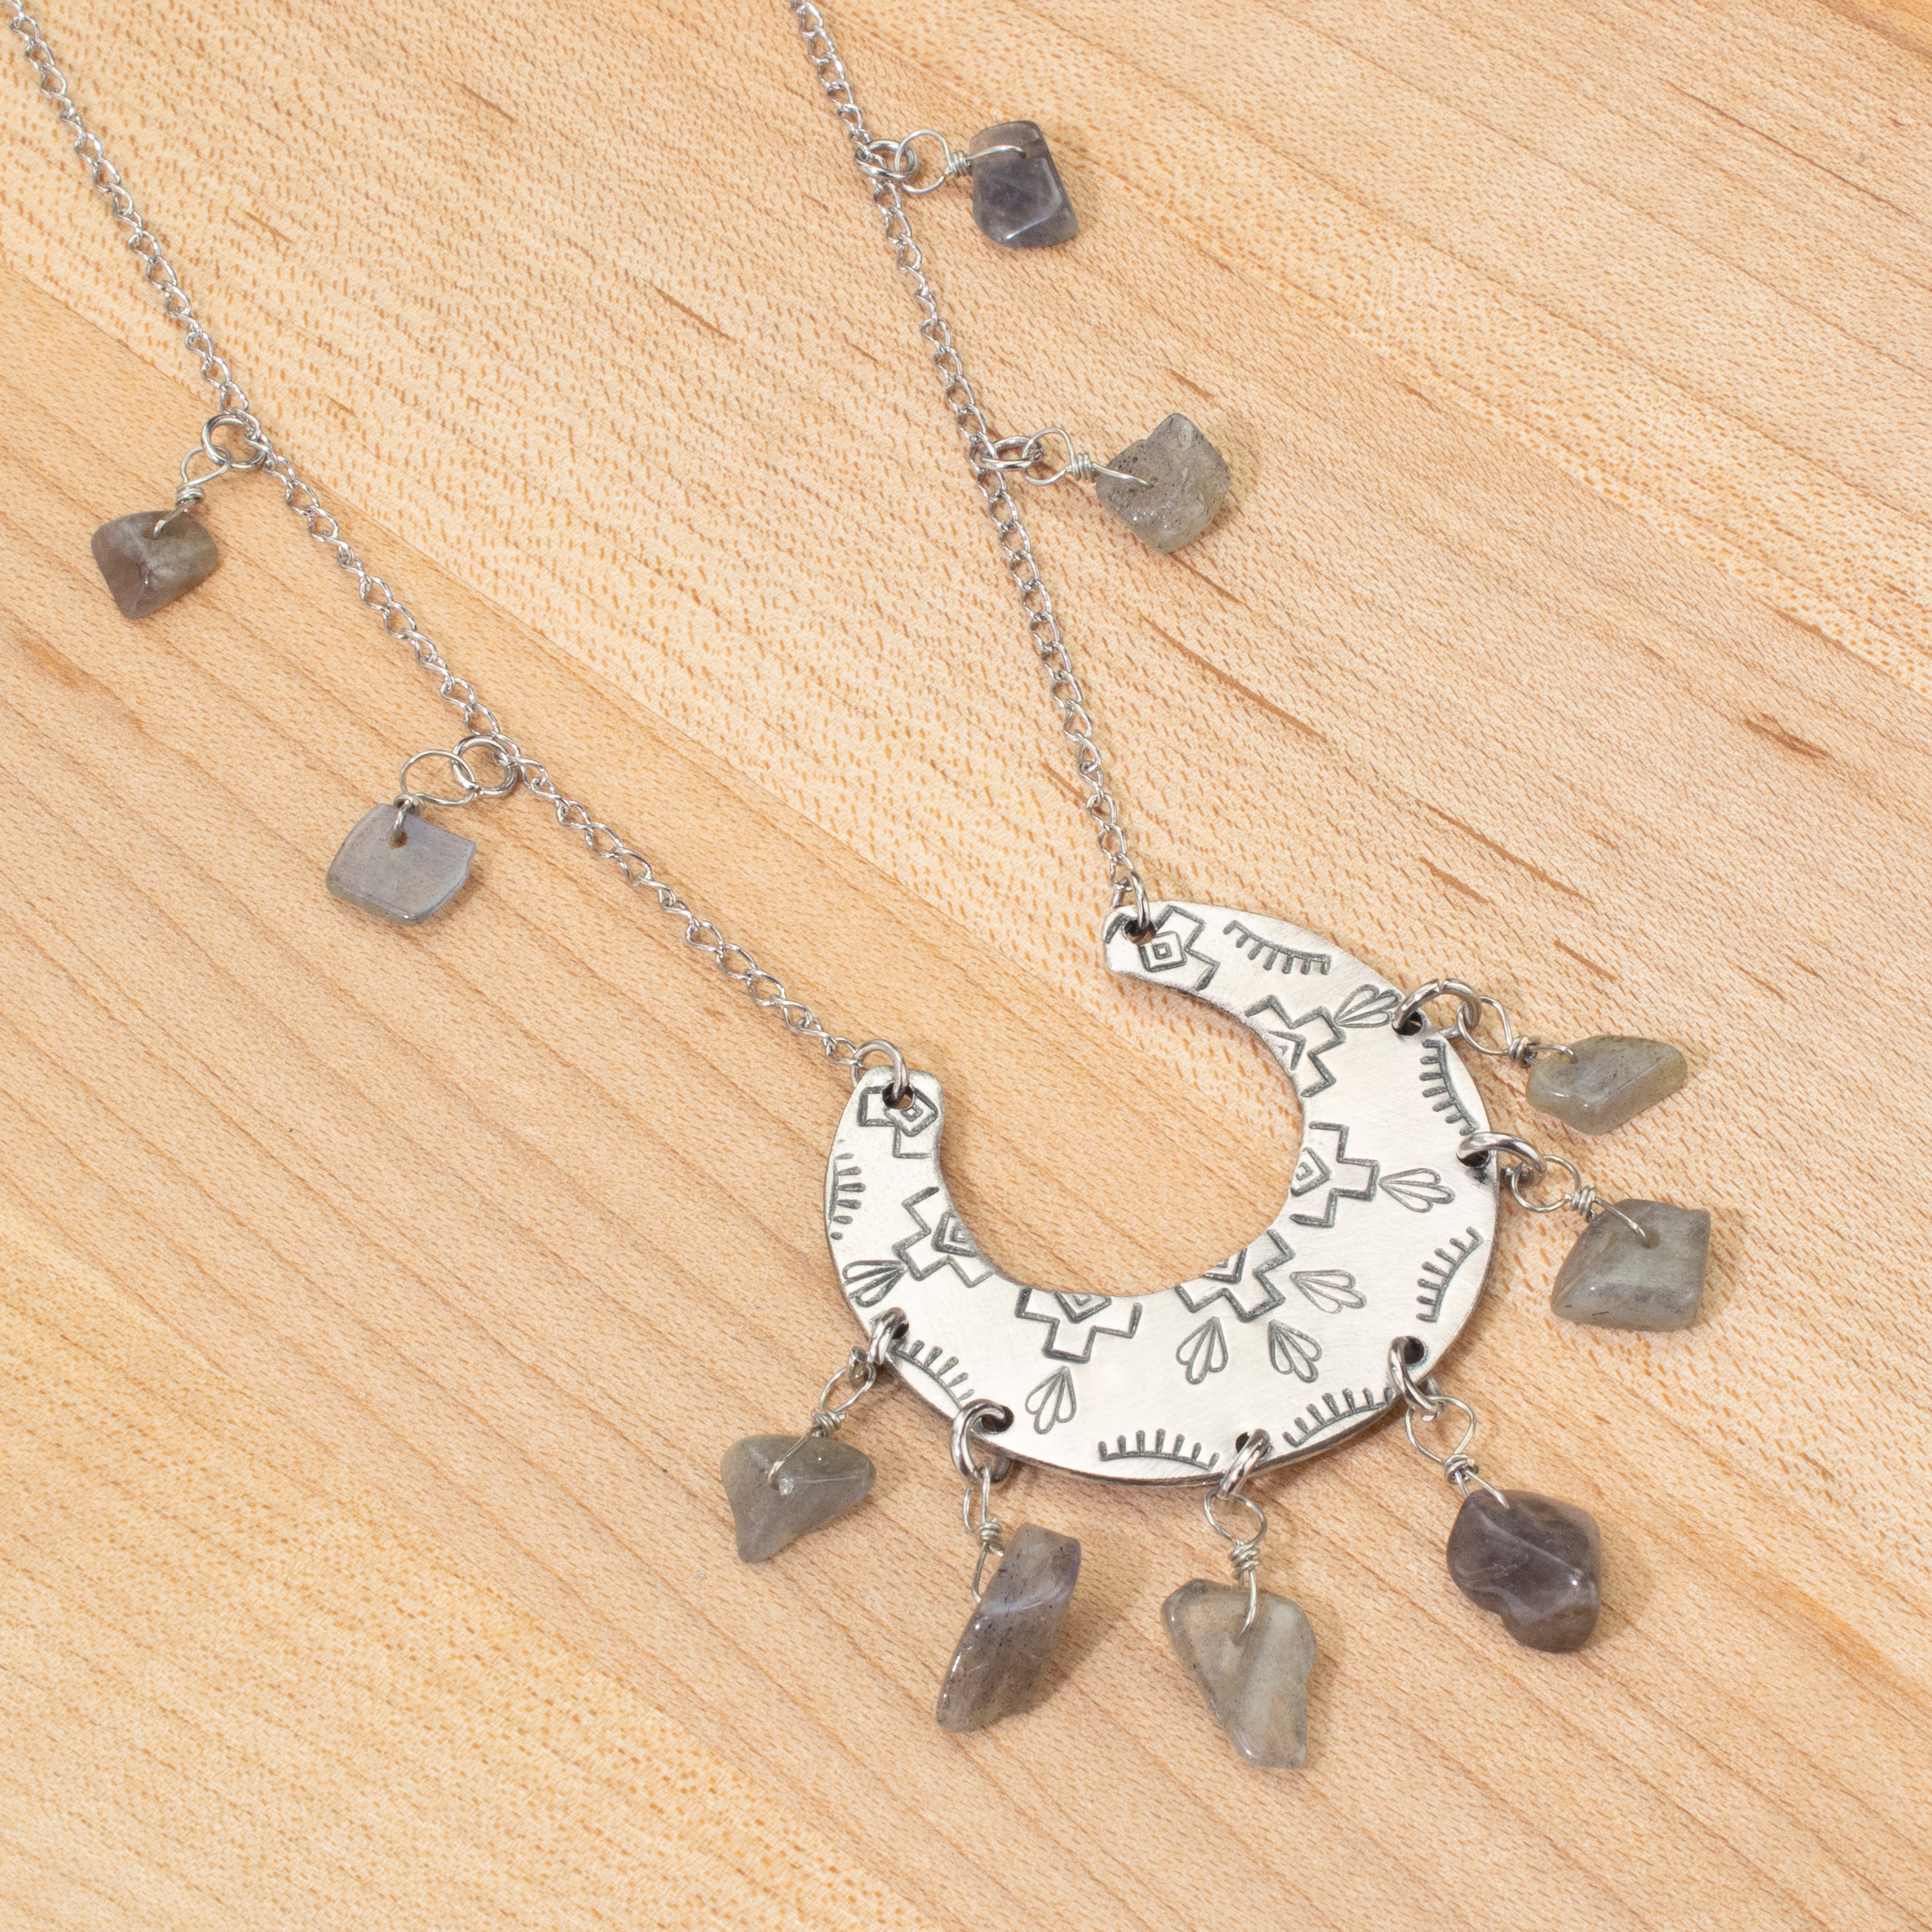
Use the tips of two chain nose pliers to grasp the sides a jump ring, with the opening of the jump ring facing up between the two pliers. Laterally twist each side of the jump ring in opposite directions to open the ring. Slide two blanks, stamped side facing each other, onto jump ring. Laterally twist the jump ring back with tension to close. Repeat to connect remaining blank. Use the same jump ring technique to connect the chain to both sides of the stamped pendant.
NOTE: Do NOT pull outwards on the jump ring as it will weaken the metal and distort the circular shape of the ring.
All Level 3 Projects