

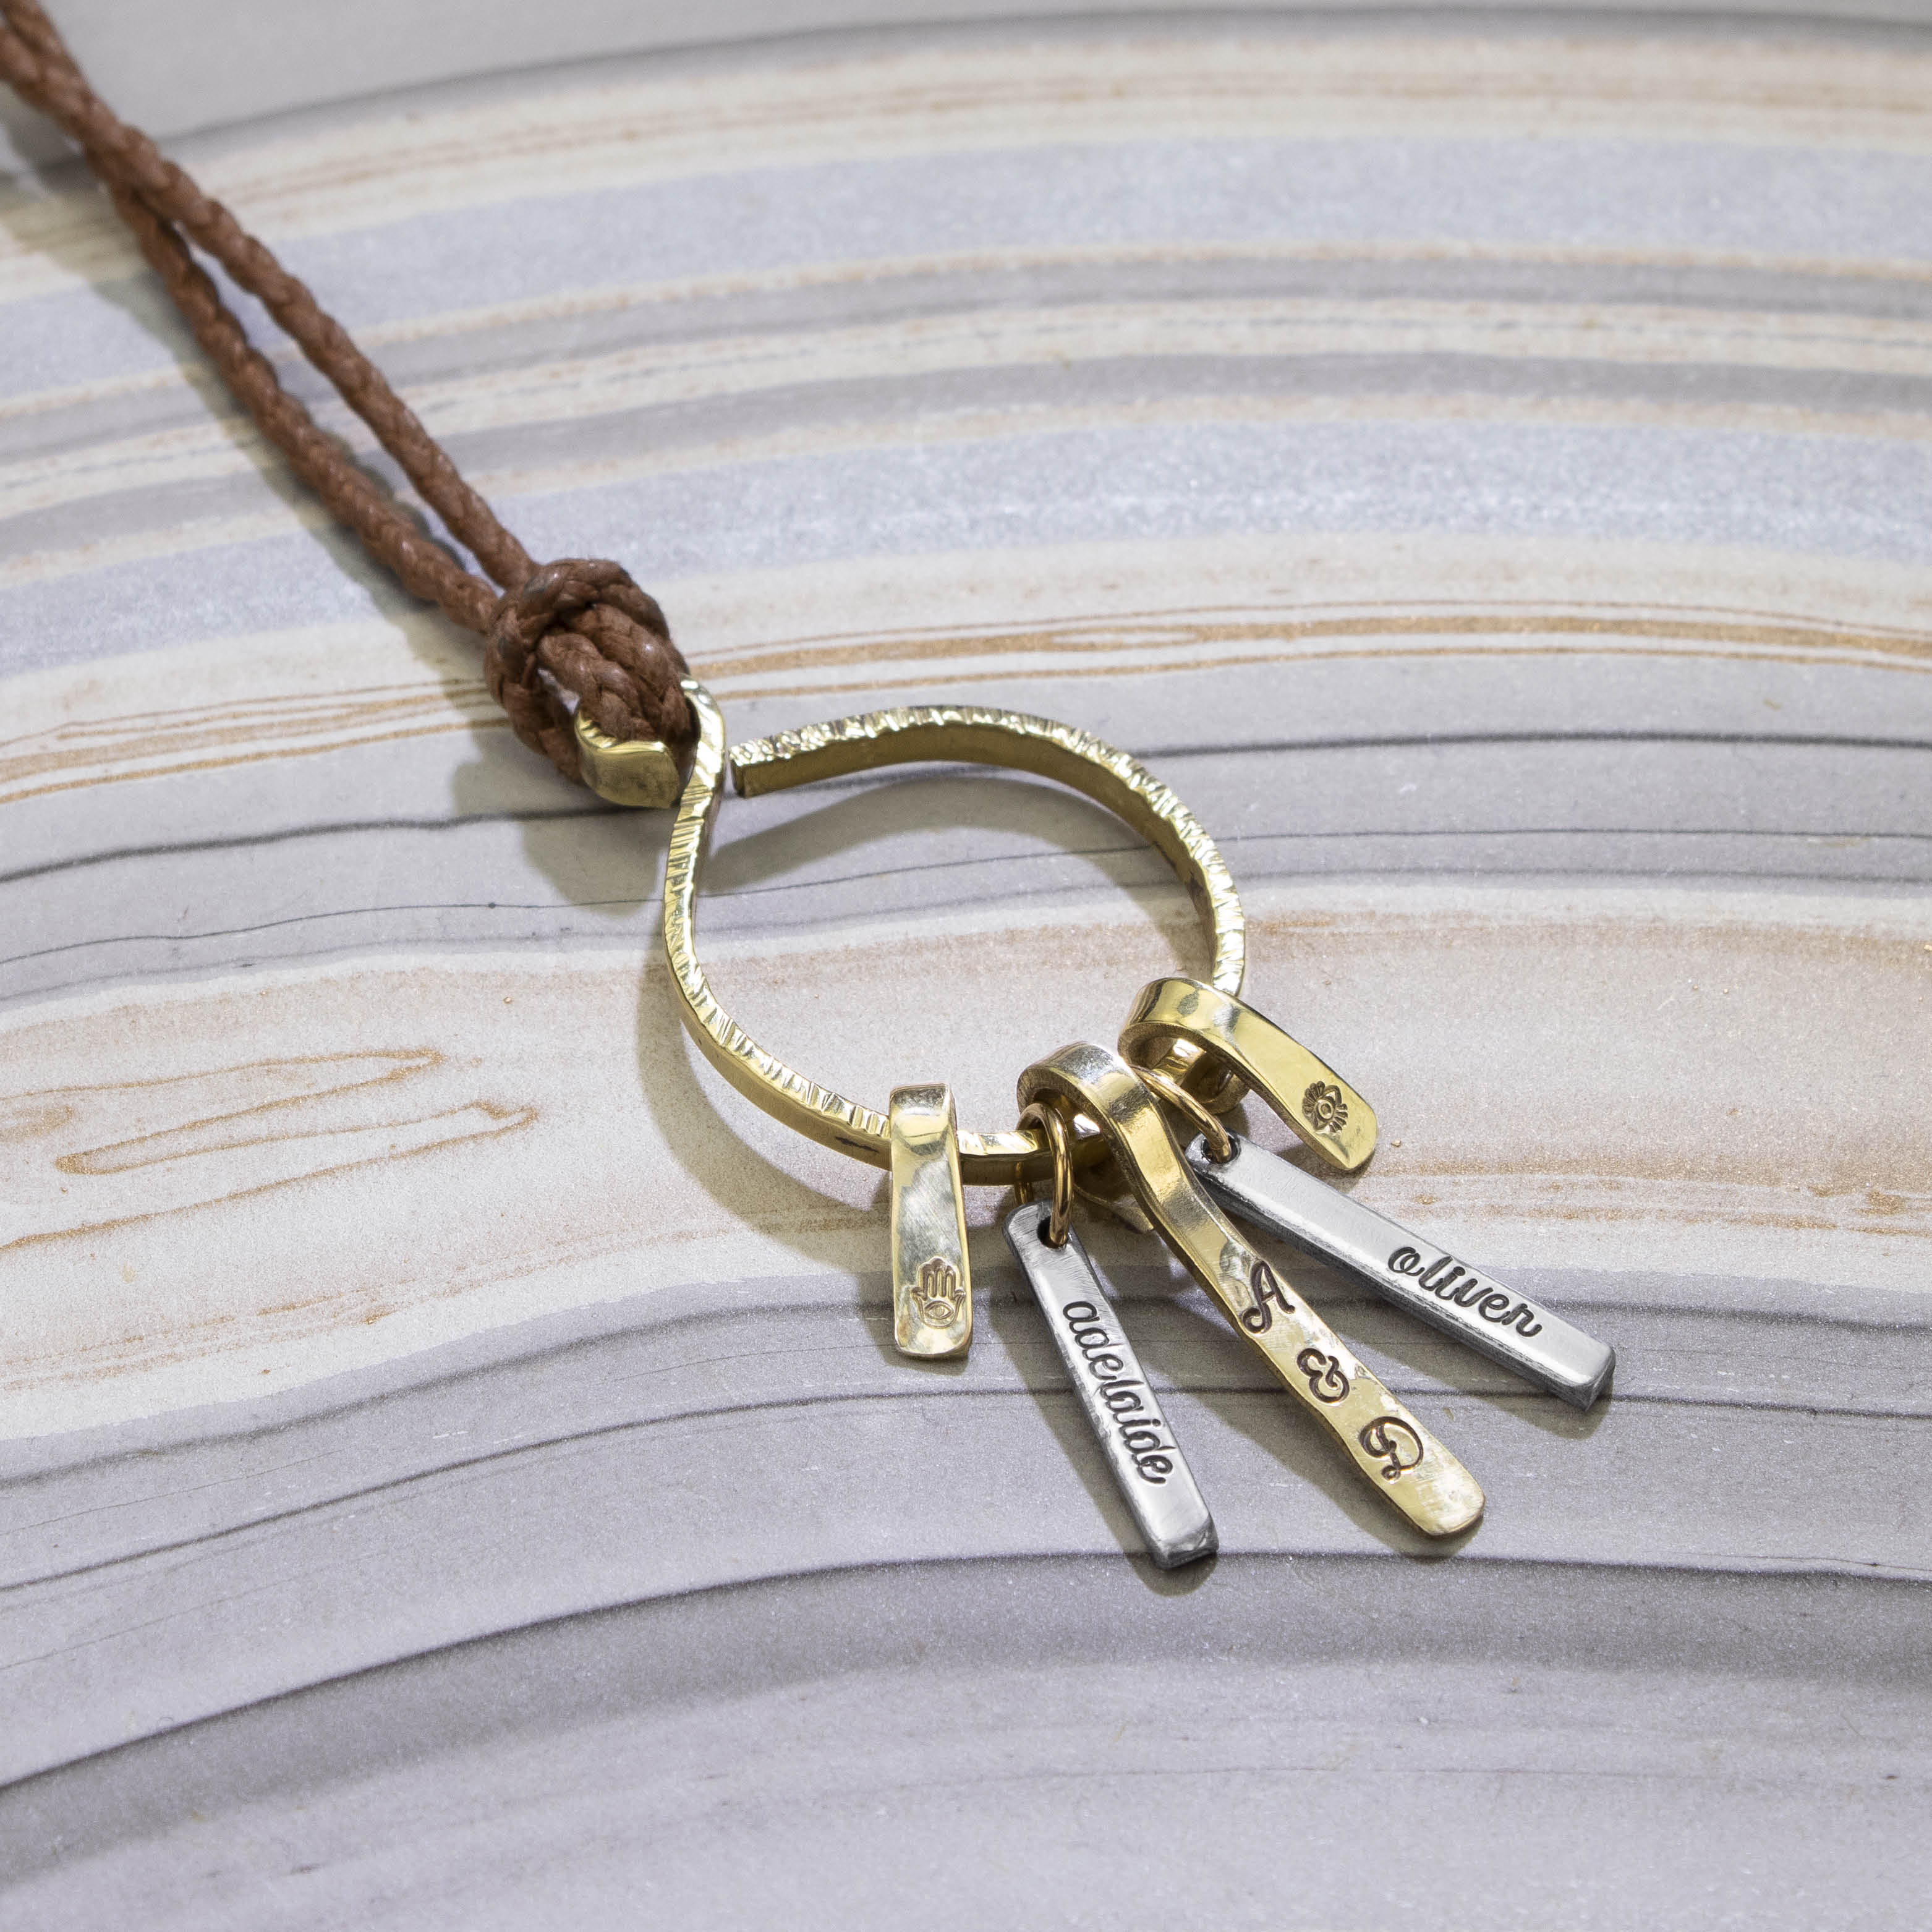
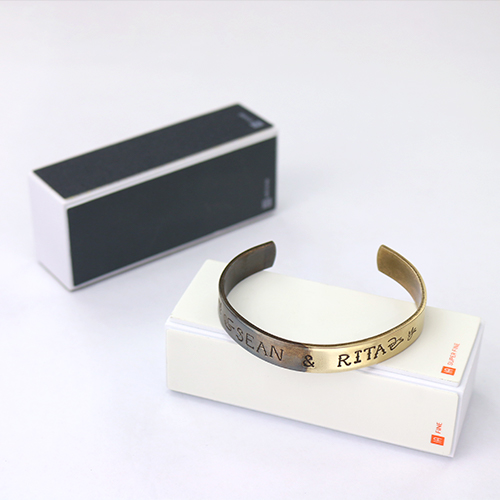
Family Fortune
SKILL LEVEL : Advanced
Family is, without doubt, the greatest wealth and the best good fortune that one will ever possess. Show your eternal cosmic love for your loved ones by hand stamping their names on pendant charms. Dangle these charms off a textured, mystical circle to symbolize that your infinite love has no beginning or end as you wear your loved ones close to your heart.
Want to watch this project be made in real time? Watch our Facebook LIVE video on replay! Click Here


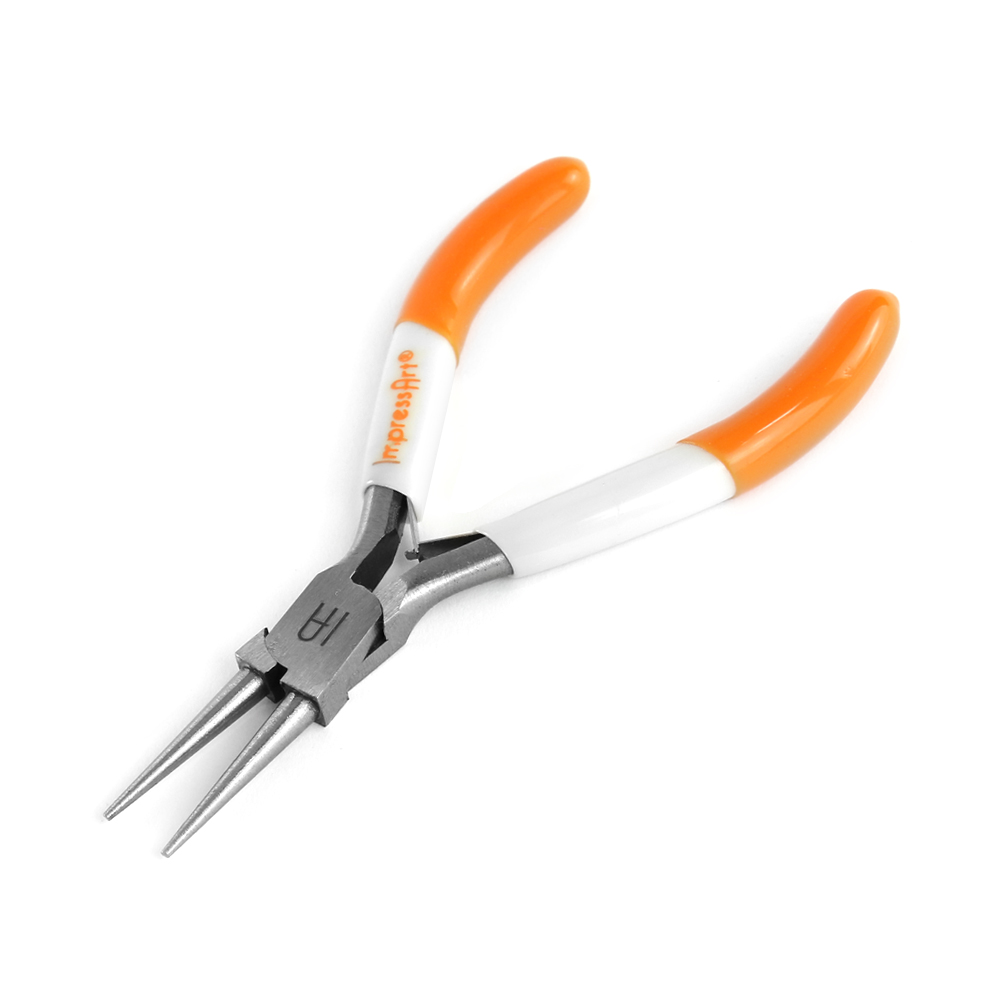
Create the statement center pendant using a ⅛” bracelet. Use Round Nose Pliers to create a rounded bail at the top of the bracelet blank. Grab the very end of the blank, between the back of the Round Nose Pliers jaws. Rotate the pliers 180-degrees until the bottom jaw is on top, and a round loop is formed. Pull pliers out of the created bail. Then grab the blank just below the loop and bend the loop slightly back towards you to give the loop bail a bit of a neck as well as to align the center of bail with the rest of the bracelet blank.
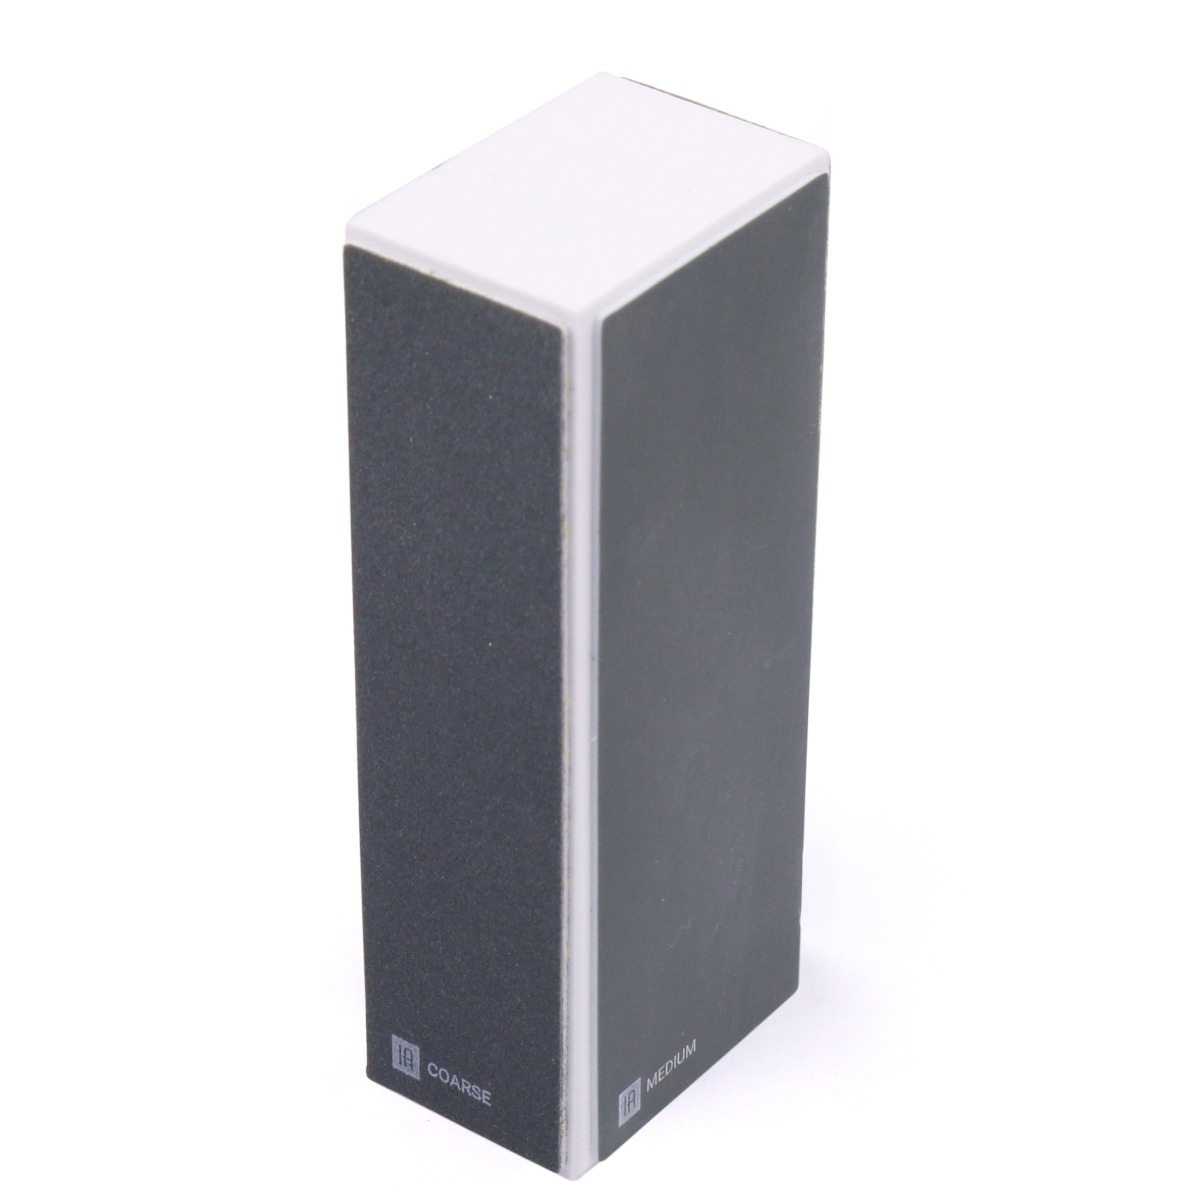
Next bend the remaining length of the bracelet blank into a circle (of any size) by using Bracelet Bending Pliers and your fingers to form the blank into desired shape. Cut any create a circle, or oval - desired shape and fingers to form bracelet blank ino shape. Cut any excess bracelet blank with metal shears and use the coarse grit on the Matte Finish Buffing Block to soften any sharp edges.
Hold the buffing block in the palm of hand and use downward strokes with moderate pressure to file sharp edges. Repeat until edges are smooth to touch.
Note: Be sure not to scratch the surface of the blank.
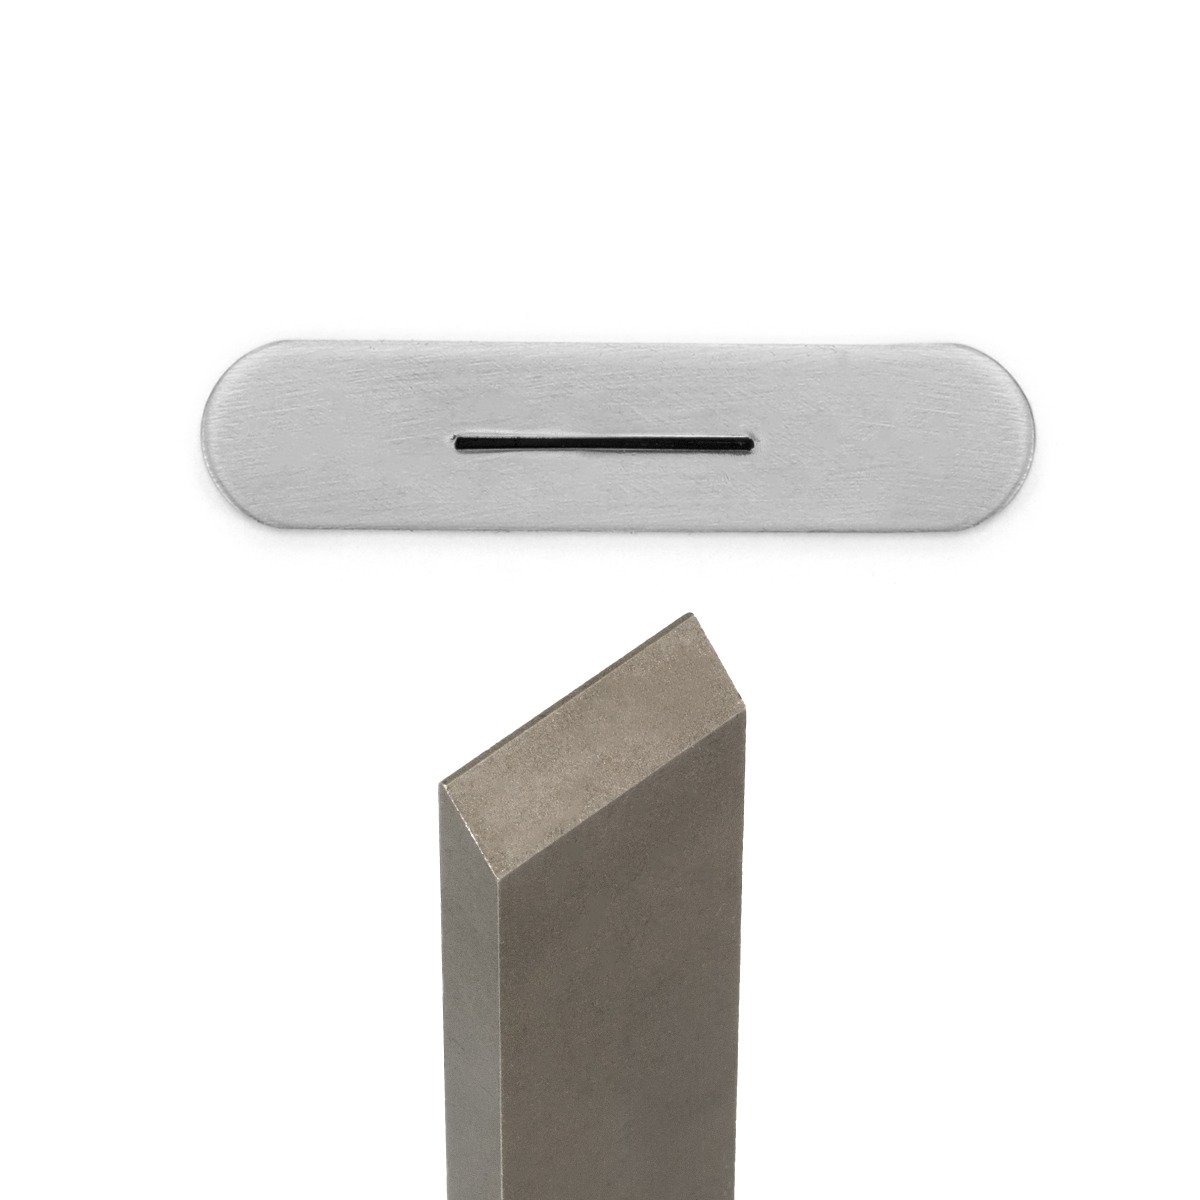
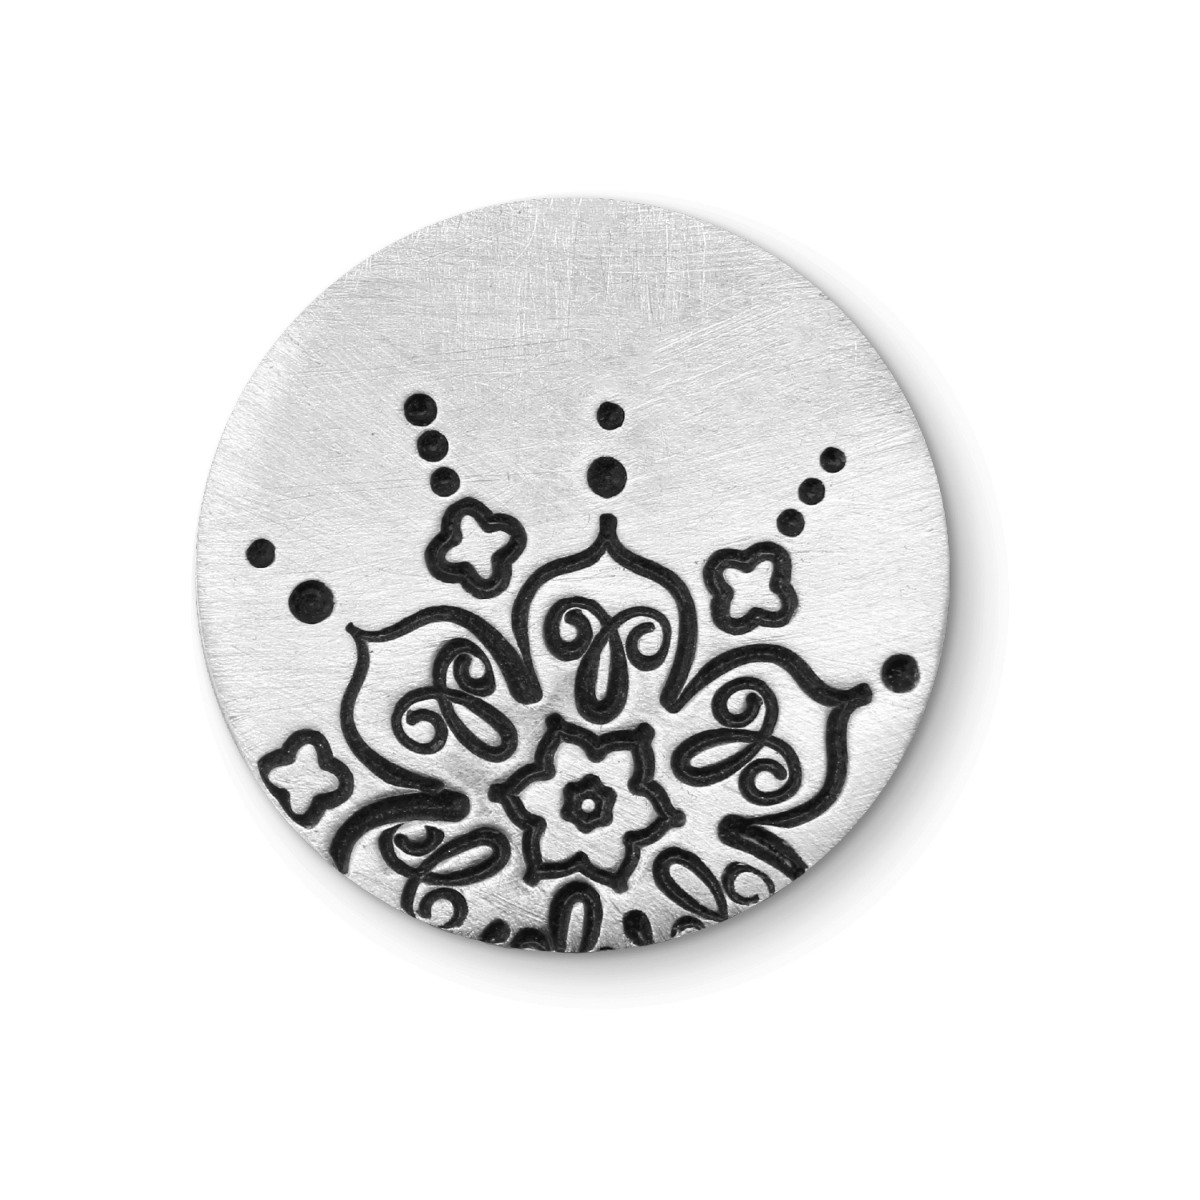
Give some dimension to the statement center pendant by stamping textured lines using the Straight LIne Metal Stamp on the outside edge of the blank.
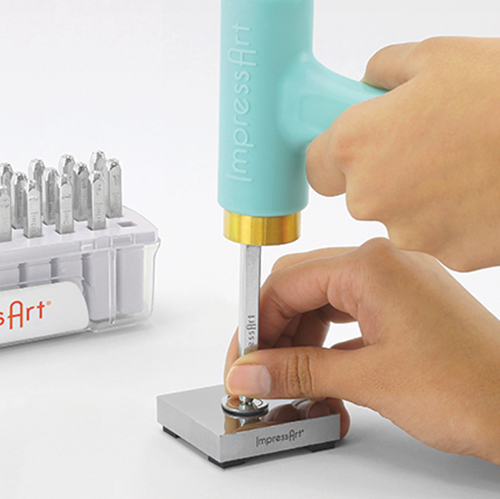
Set formed center pendant blank on stamping block. Position the stamp with the line facing the desired direction of the impression. Place stamp on blank. Hold stamp flat and firmly in place by applying pressure to the stamp and anchoring the side of your hand on workspace.
Use a modified version of the Tap & Tilt technique to stamp the 9.5mm Straight Line Stamp. While applying pressure to the stamp, strike once with medium to hard force. Then continue to strike while very slightly tilting the stamp side to side to achieve the entire length of the line. Repeat technique to stamp the entire outside edge of the bracelet.
TIP: Place stamping block (with no rubber feet or padding) on a hard sturdy surface when stamping aluminum, brass, or copper with Curved or Line Metal Stamp.
TIP: Use stamp tape to secure the blank to the stamping block so it doesn’t move while texturing. You will be able to texture the blank through the tape.
Create round-looped pendant charms from ⅛” bracelet blanks. Cut and file desired charm length with mental shears and Matte Finish Buffing Block.
Use chasing head in Multi-Function Hammer to evenly flatten out one end of the cut charm blank to give the blank more of an organic feel.
Stamp 3mm or smaller design stamps or letters vertically on this charm blanks. Place blank on stamping block. Hold stamp flat and firmly in place by anchoring the side of your hand on workspace. Then strike the stamp once with medium force using Metal Stamping Hammer.
TIP: If the stamp has an ImpressArt logo, make sure it is facing you so that the impression is stamped in the correct direction.
Repeat Step 1 to create rounded bails at the top of desired stamped blank charm using round nose pliers. Repeat Steps 4 & 5 to create desired amount of round-looped pendant charms.
Create additional jump ring charms from ⅛” bracelet blanks. Cut and file desired charm length with mental shears and Matte Finish Buffing Block.
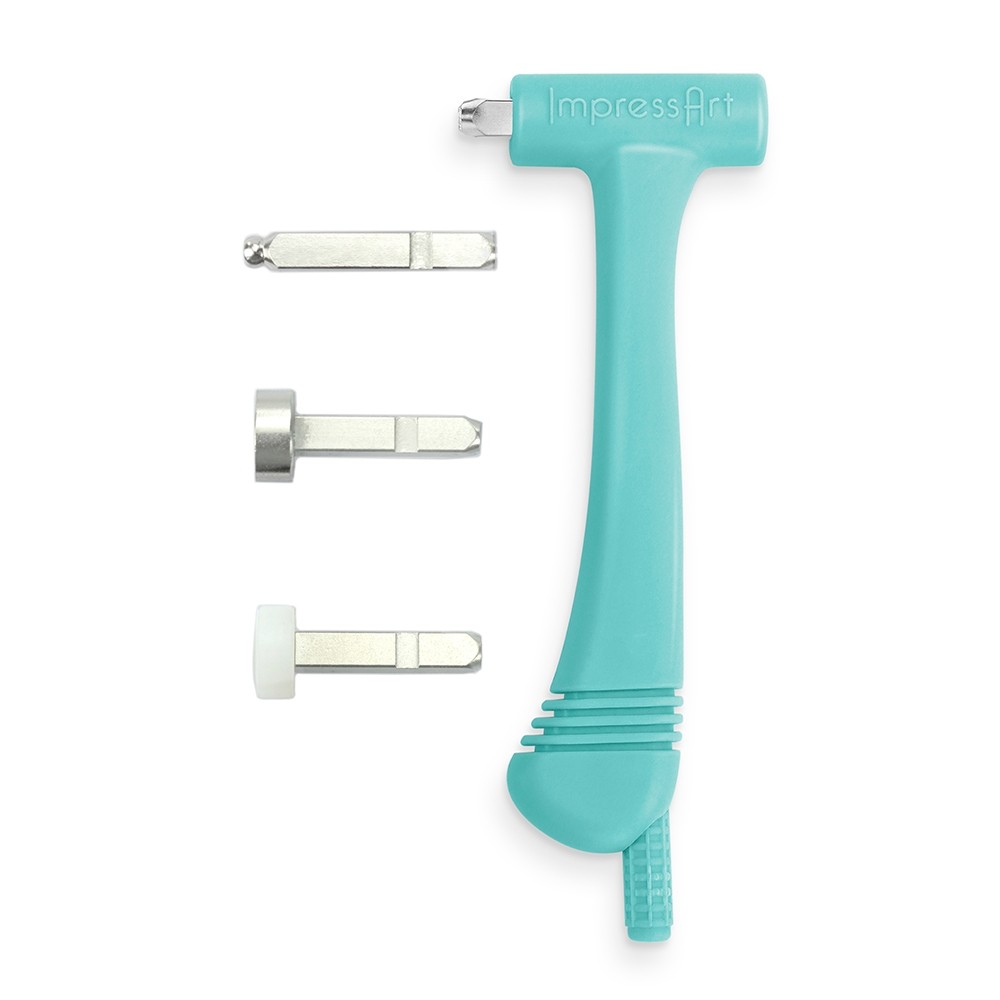
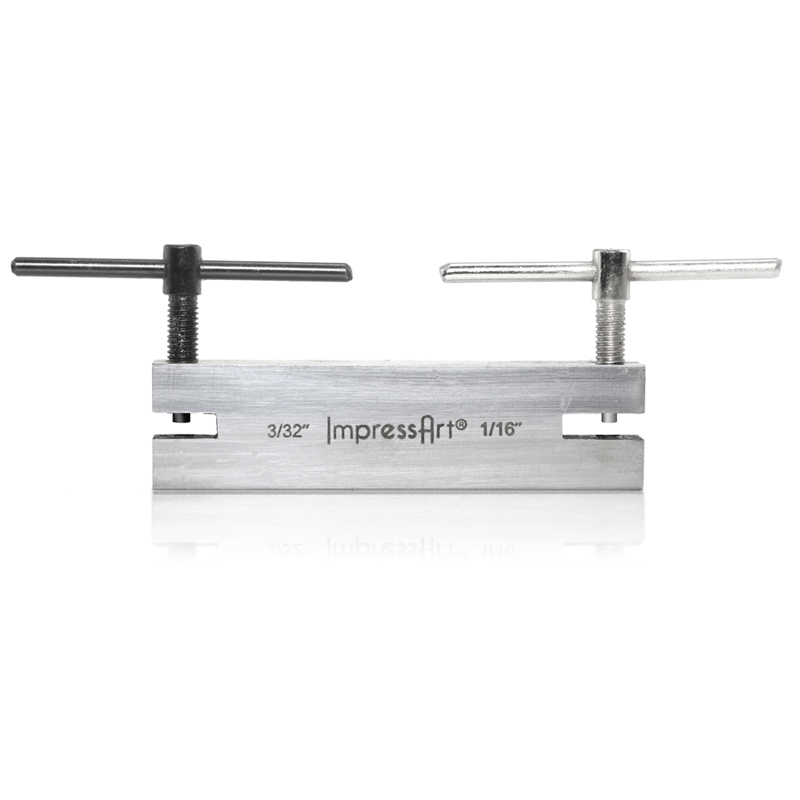
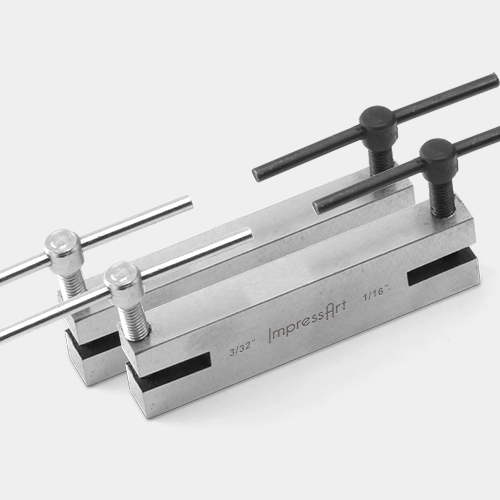
Pierce a hole at the top center of the cut blank using the 1/16” punch of the 2 Hole Screw Down Punch. Simply turn the handle of the screw down punch until the punch pierces through the stamping blank. Twist the handle of the screw down punch in the opposite direction to raise the punch and remove blank.
TIP: Make sure not to screw the punch down too much as this will mar the surface of the blank and leave an unwanted impression of the base of the screw.
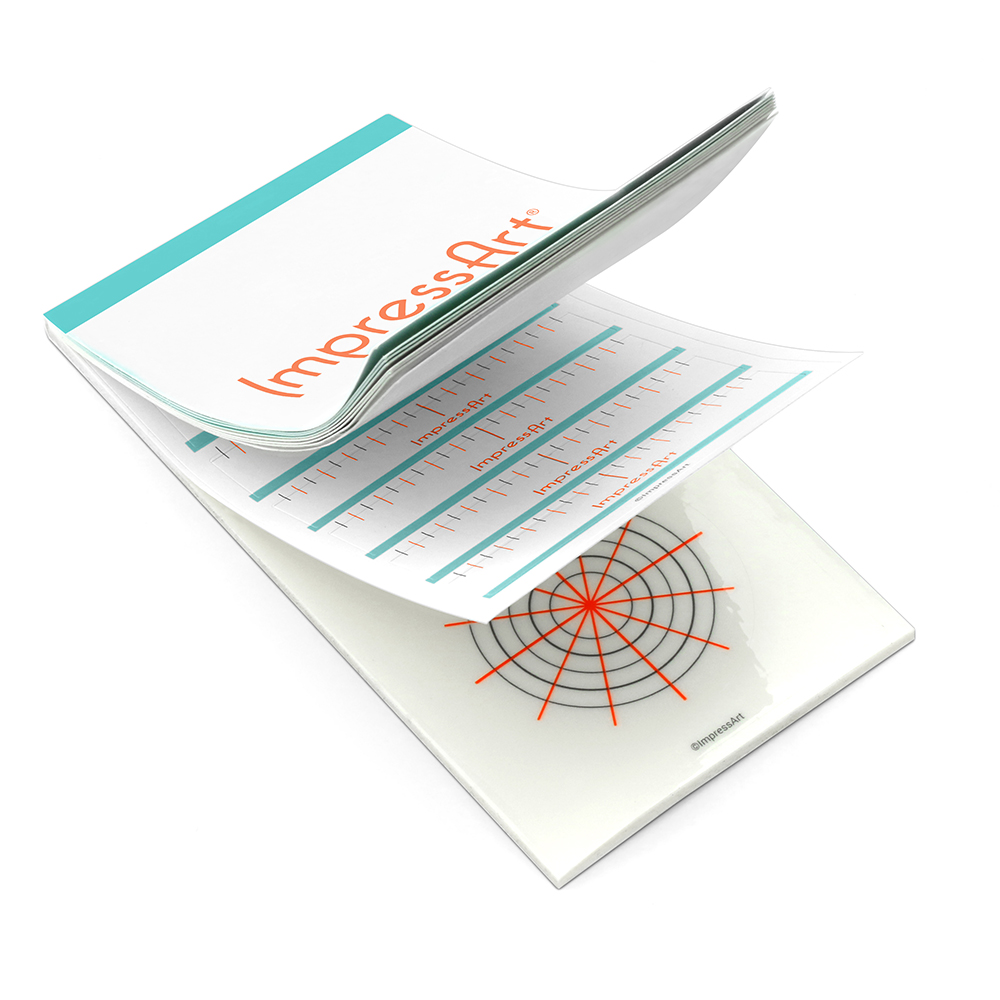
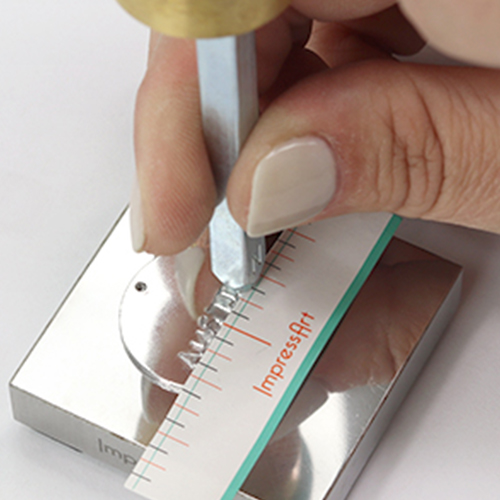
Set blank down on block Secure straight stamp guide on the blank. Use guide marks to evenly space out letters and align stamp impressions. For 1/8” bracelets, make sure the top edge of the stamp guide is slightly touching the bottom edge of the bracelet blank.
TIP: Write desired message directly onto the stamp guide and utilize the guideline marks for spacing.
TIP: Use stamp tape to secure the bracelet blank to the stamping block so it doesn’t move while stamping.
Place stamp on the blank, above the corresponding mark on the stamp guide. Lightly drag stamp towards the guide until the stamp catches the edge of the guide. epeat to complete desired word. Remove stamp guide. Repeat Steps 6-8 to create desired amount of jump ring pendant charms.
TIP: Slightly tilt the stamp towards you while dragging the stamp towards the guide. Make sure you hold the stamp flat and firmly in place before striking the stamp.
NOTE: For lowercase letters g, j, p, q, y: Place bottom of the stamp on top of stamp guide so that the lowercase letters with descenders fit on the bracelet blank.
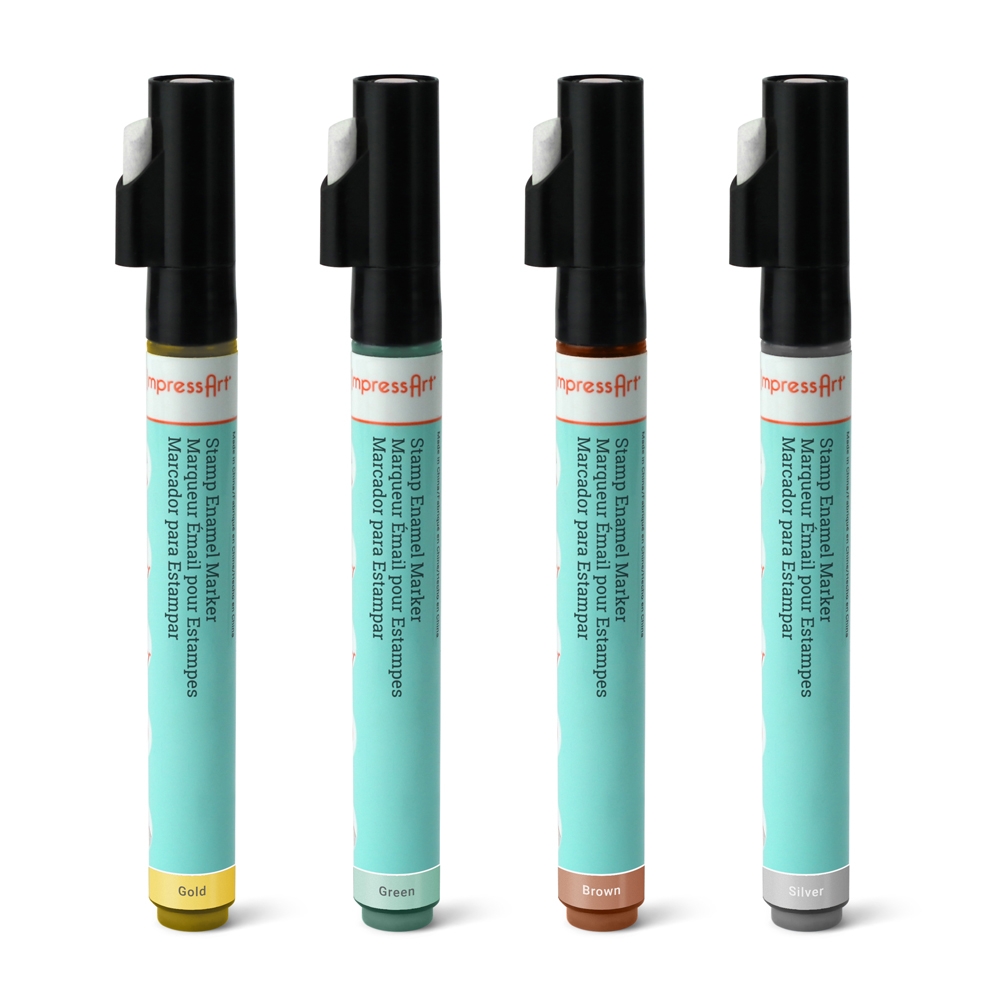
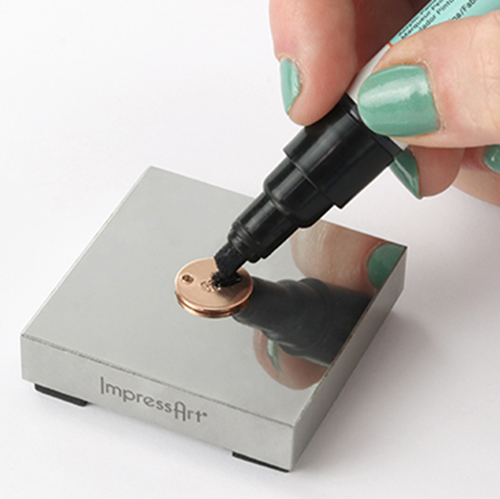
Highlight impressions with Stamp Enamel. Wait 3-5 minutes and then dab the excess enamel into the impressions with a paper towel before lightly wiping it away from the surface of the blank.
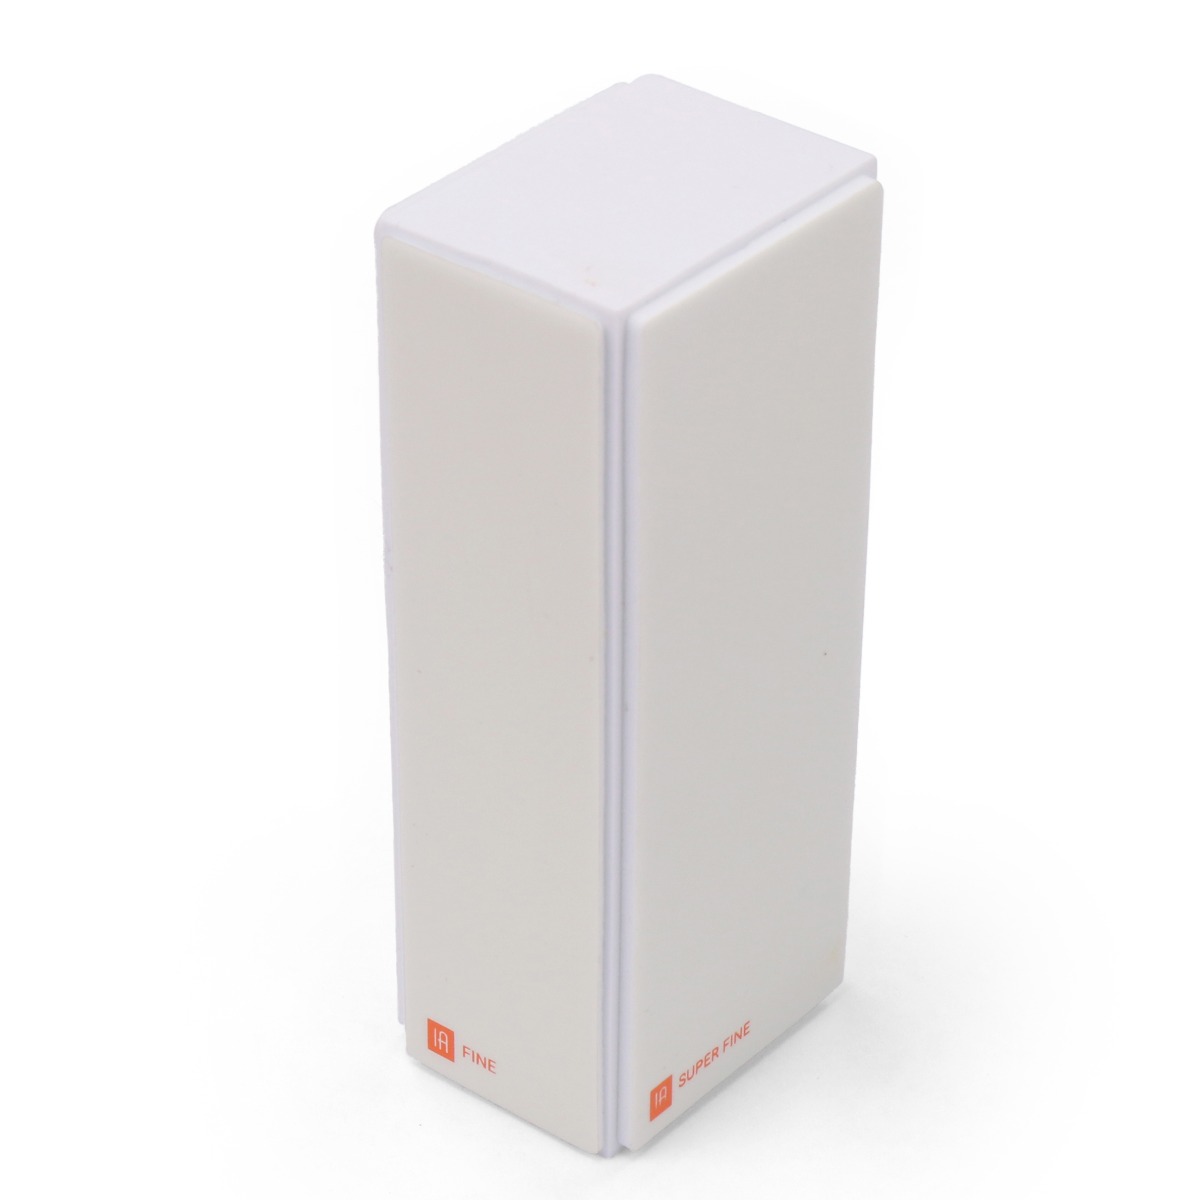
Buff stamped blank to a brilliant, high-shine finish using High Polish Finish Blocks. Use fine grit to quickly clean and polish blanks. Hold buffing block in the palm of the hand and move the block in even, back and forth strokes to remove dirt and dried enamel left on the raised surfaces. Use extra fine grit for buffing to a high shine. Hold buffing block in the palm of hand and buff in tiny, back and forth strokes with light pressure to get a mirror-like shine.
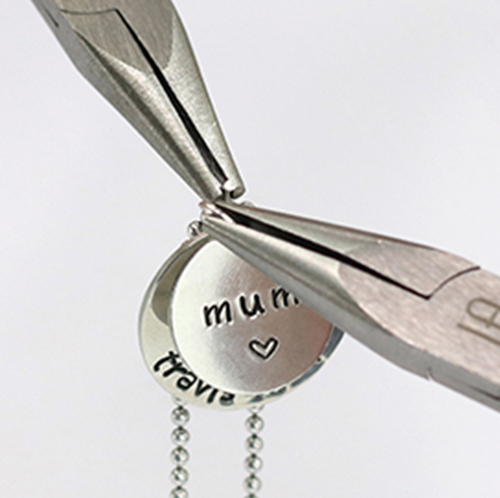
Attach round-looped charms to pendant by slightly separating the opening of the main center pendant with your hands. Slide the charms onto pendant in desired order. close the opening of the pendant when done.
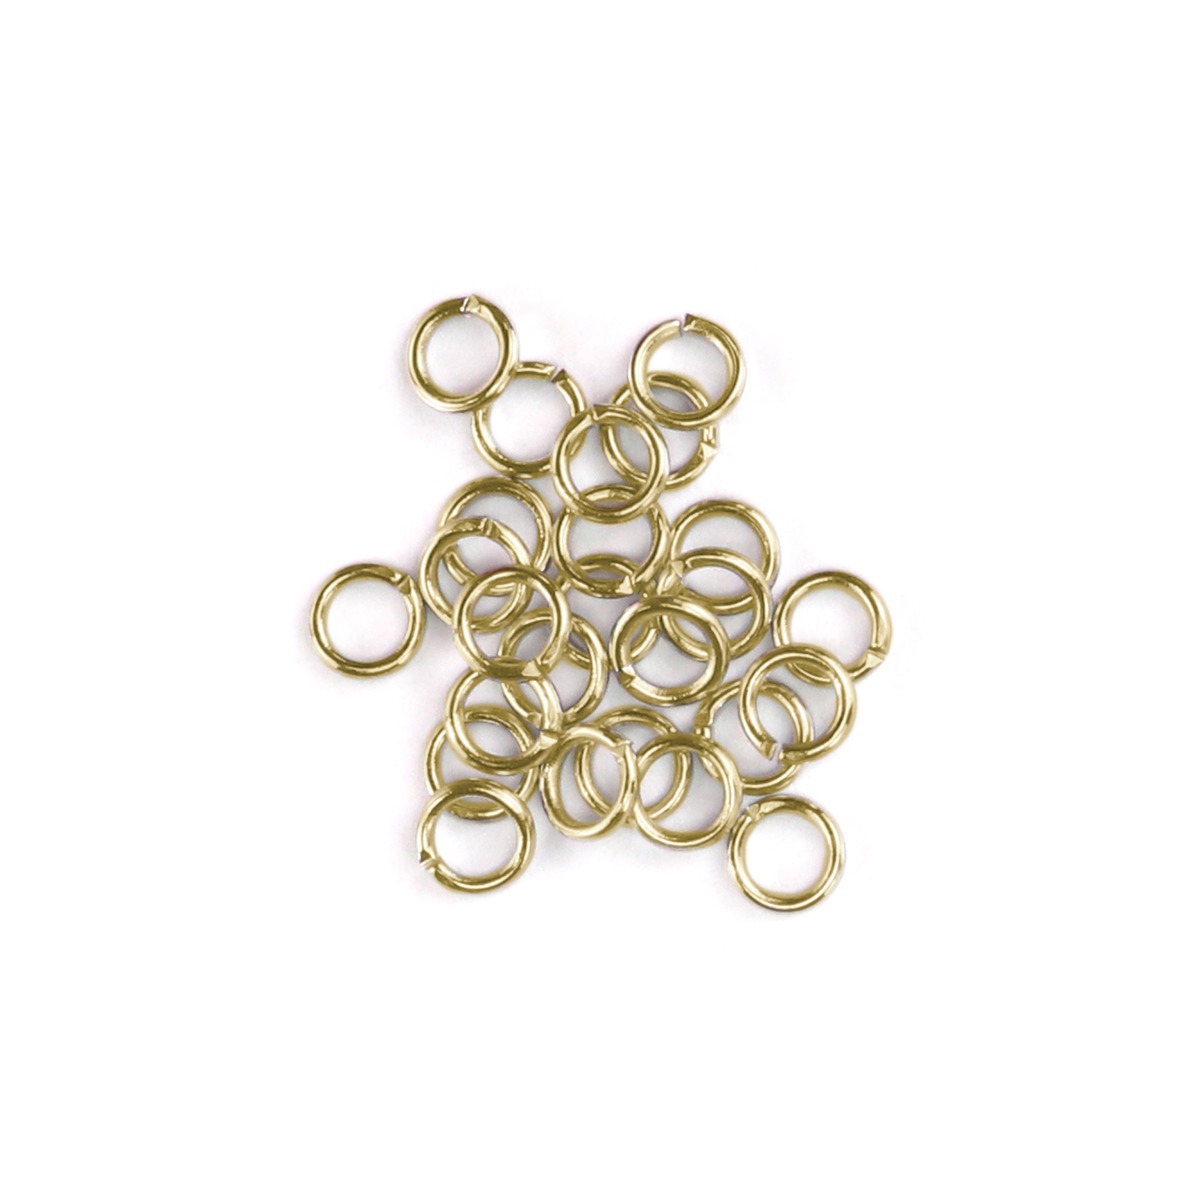
Use the tips of two chain nose pliers to grasp the sides of a jump ring, with the opening of the jump ring facing up between the two pliers. Laterally twist each side of the jump ring in opposite directions to open the ring. Slide pierced blank onto jump ring, and desired location on main center pendant onto the open ring. Laterally twist the jump ring back with tension to close. Repeat to attach all jump ring charms.
Attach braided leather cording to the top of the completed pendant using a Lark’s Head Knot. Fold the length of the leather cording in half at the center. Take the fold and slide it through the pendant bail. Take the two ends of the cording and pass them through the loop made by the fold of the ribbon. Pull tight to secure the cording to the pendant.