


Texture All The Way!
SKILL LEVEL : Intermediate
Add a dash of shimmer and shine to all of your personalized hand-stamped ornaments. Snowy textures and sparkly crystals are the perfect way to add a glamorous touch to any holiday decor.
Happy Holidays!

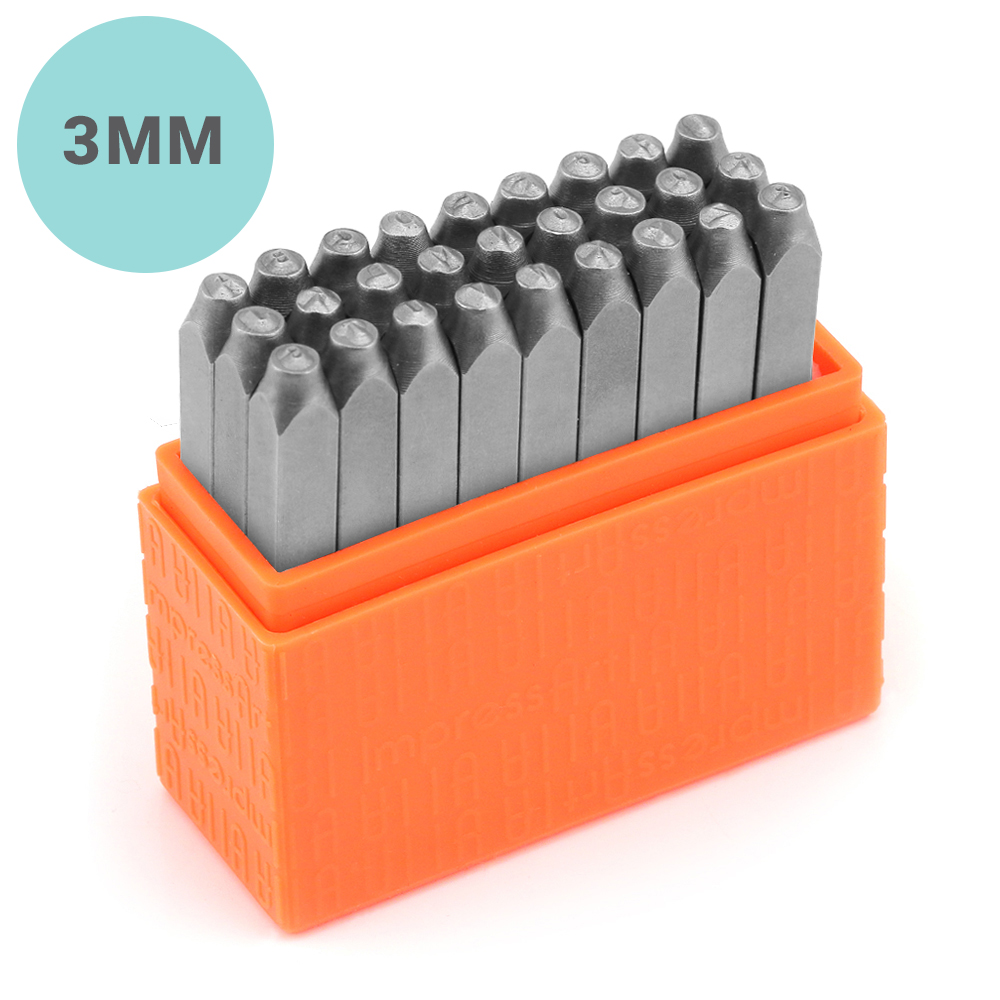
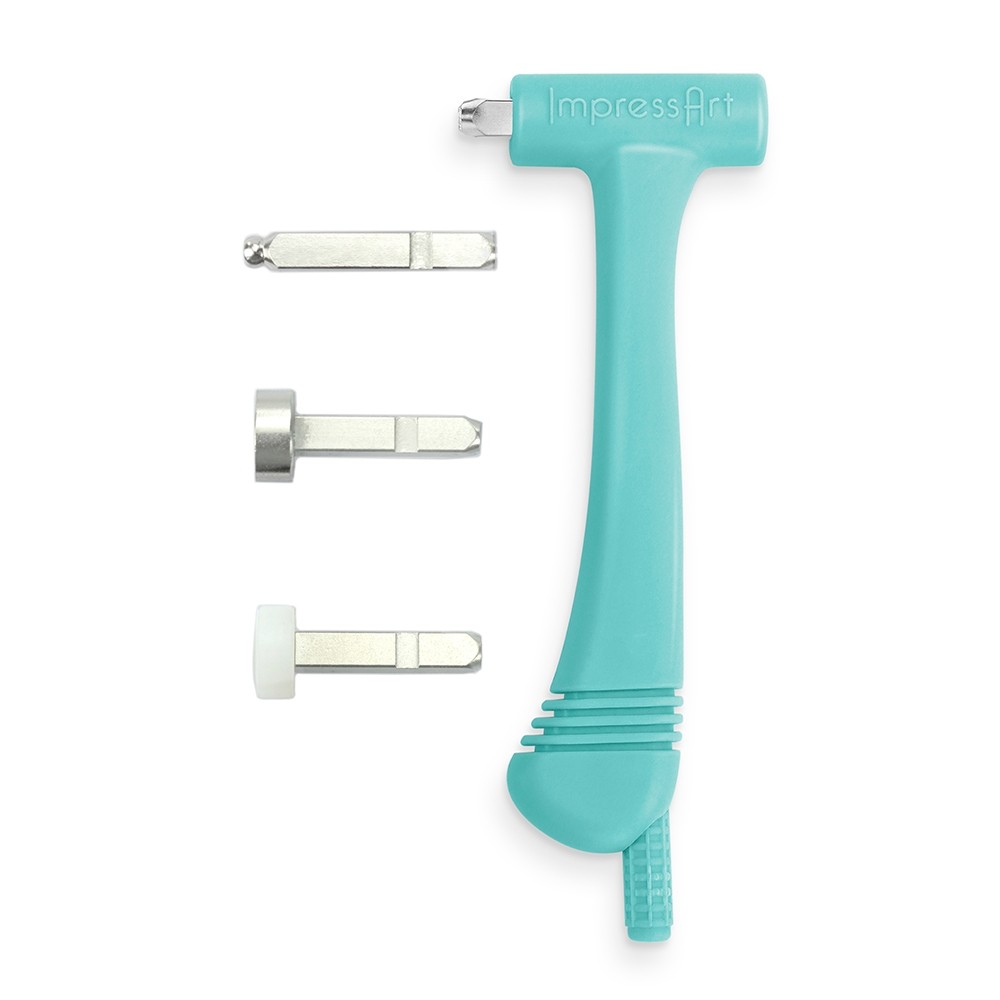
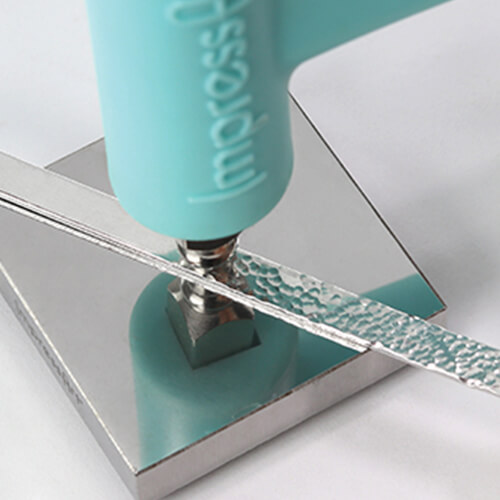
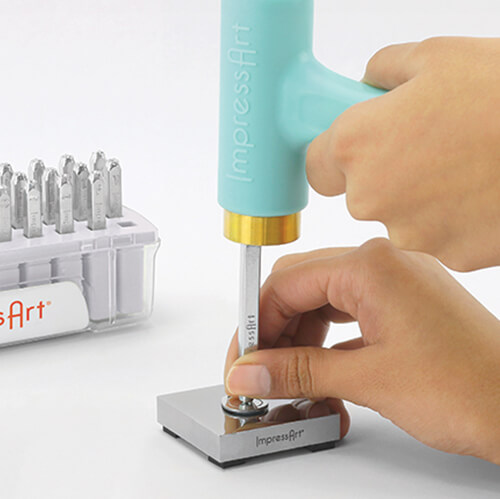
Place texture stamp of your choice in the Multi-Function Hammer, with the notch in the stamp facing down (when notch is available). Secure stamp in the hammer by tightening the screw at the bottom of the hammer.
Place ornament on stamping block. Hold the hammer with your palm of your hand over the screw and use a couple of fingers, off to the side, to hold the ornament in place. Then stamp desired location on the ornament repeatedly with medium force until the location is textured to your preferred liking.
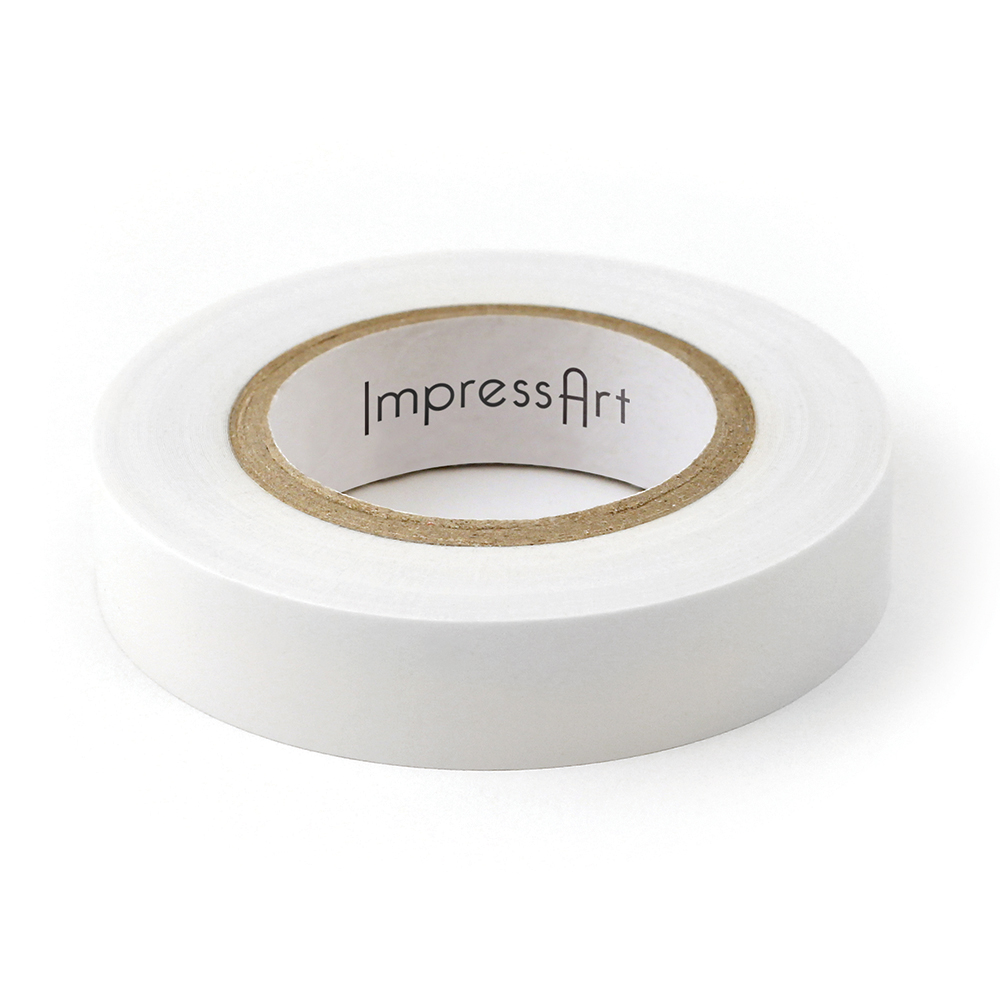
TIP: Use stamp tape to secure the ornament to the stamping block so it doesn’t move while texturing. You will be able to texture the ornament through the tape.
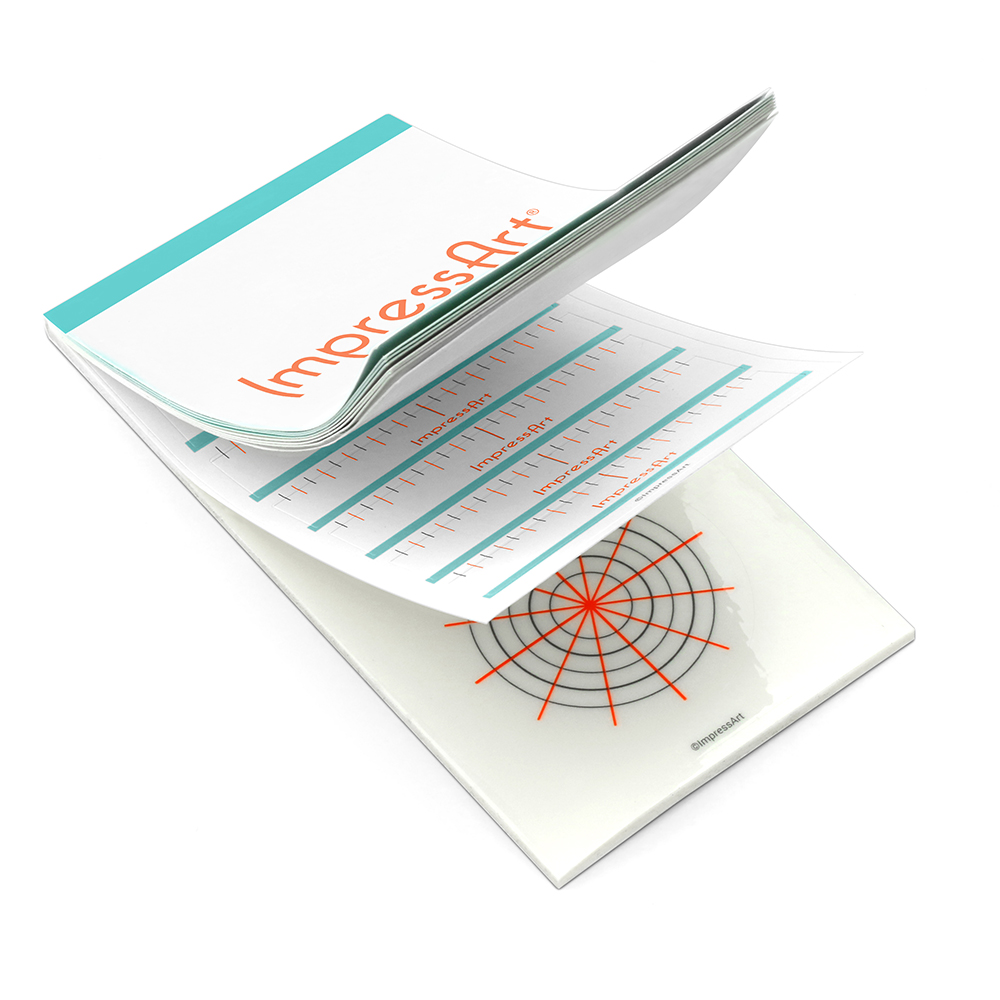
Secure straight stamp guide on the ornament. Use guide marks to evenly space out letters and align stamp impressions.
TIP: Use stamp tape to secure the ornament to the stamping block so it doesn’t move while stamping.
TIP: Write desired message directly onto the stamp guide and utilize the guideline marks for spacing.
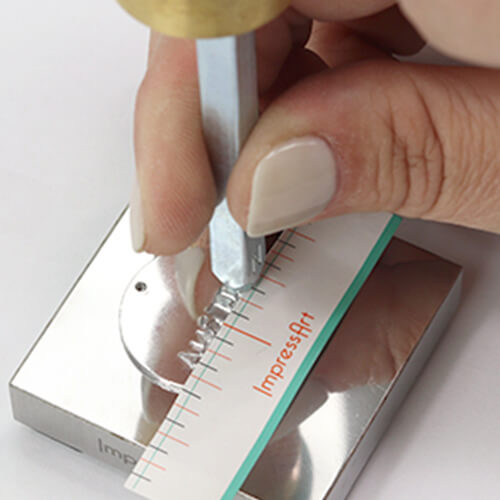
Place stamp on the ornament, above the corresponding mark on the stamp guide. Lightly drag stamp towards the guide until the stamp catches the edge of the guide. Hold stamp flat and firmly in place by anchoring the side of your hand on workspace. Then strike the stamp once with medium force using Metal Stamping Hammer. Repeat to complete desired word.
TIP: If the stamp has an ImpressArt logo, make sure it is facing you so that the impression is stamped in the correct direction.
TIP: Slightly tilt the stamp towards you while dragging the stamp towards the guide. Make sure you hold the stamp flat and firmly in place before striking the stamp.
NOTE: For lowercase letters g, j, p, q, y: Place bottom of the stamp on the thin horizontal blue line that runs through the guide marks.
After stamping the first line, move the straight stamp guide down and repeat the technique to finish stamping any additional lines.
TIP: If stamp guide becomes unusable due to rips or markings, then use a new straight stamp guide to complete the project.
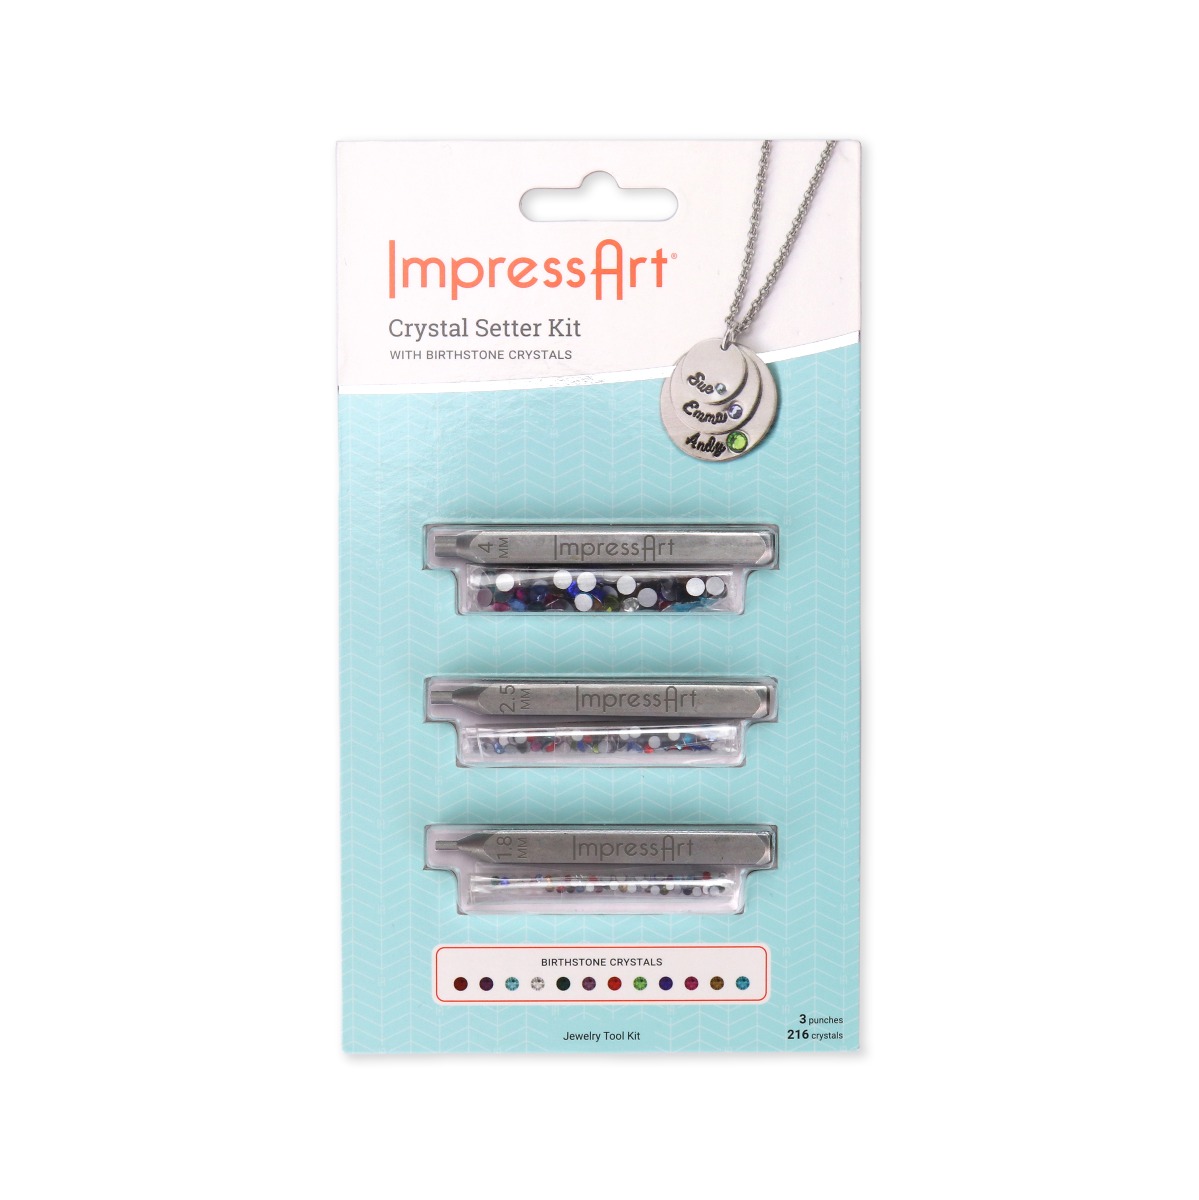
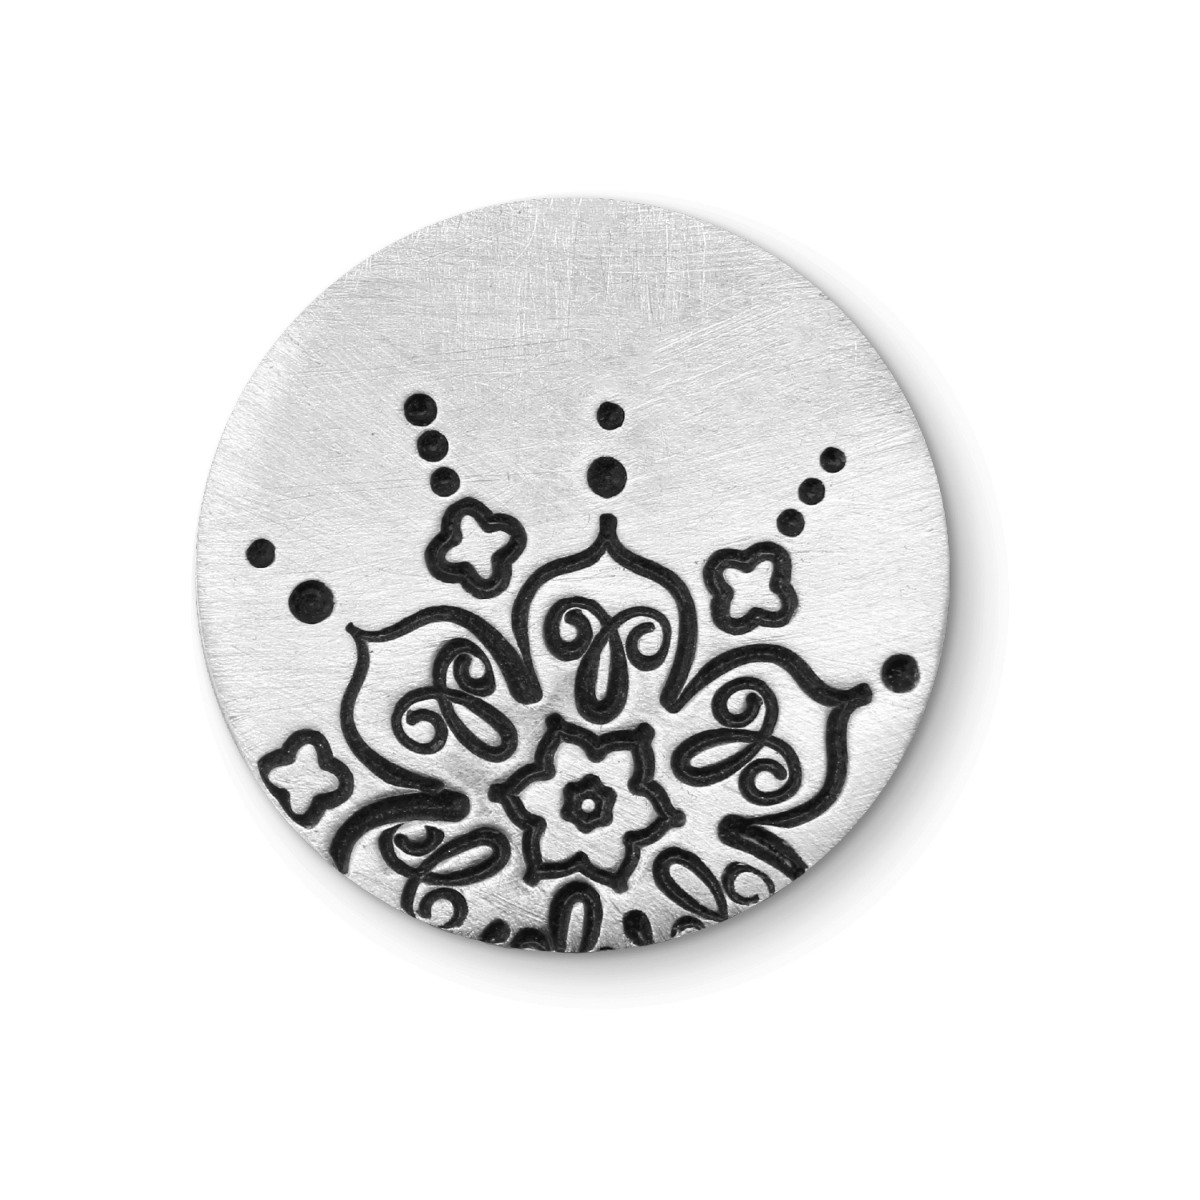
Stamp design stamps of your choice to further personalize the ornament. For a spark of color, stamp desired design details with the crystal setter.
Hold crystal setter flat and firmly in place on the stamping blank. Strike with medium force using metal stamping hammer until a round indentation is formed in the stamping blank. The indentation should be deep enough so that the edges of the crystal are set in the divot and the top of the crystal protrudes out from the blank.
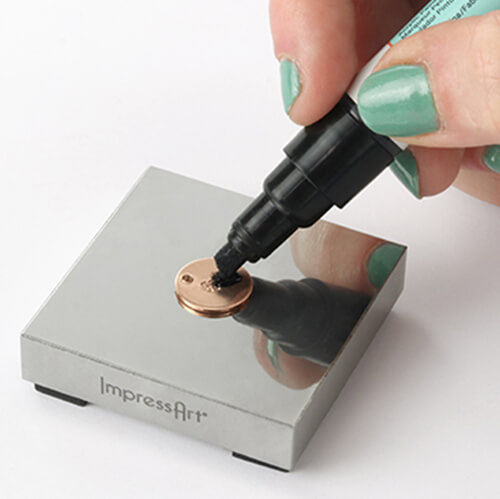
Highlight impressions and ornament design details with Stamp Enamel Marker. Wait 3-5 minutes and then wipe away excess from the surface of the ornament.
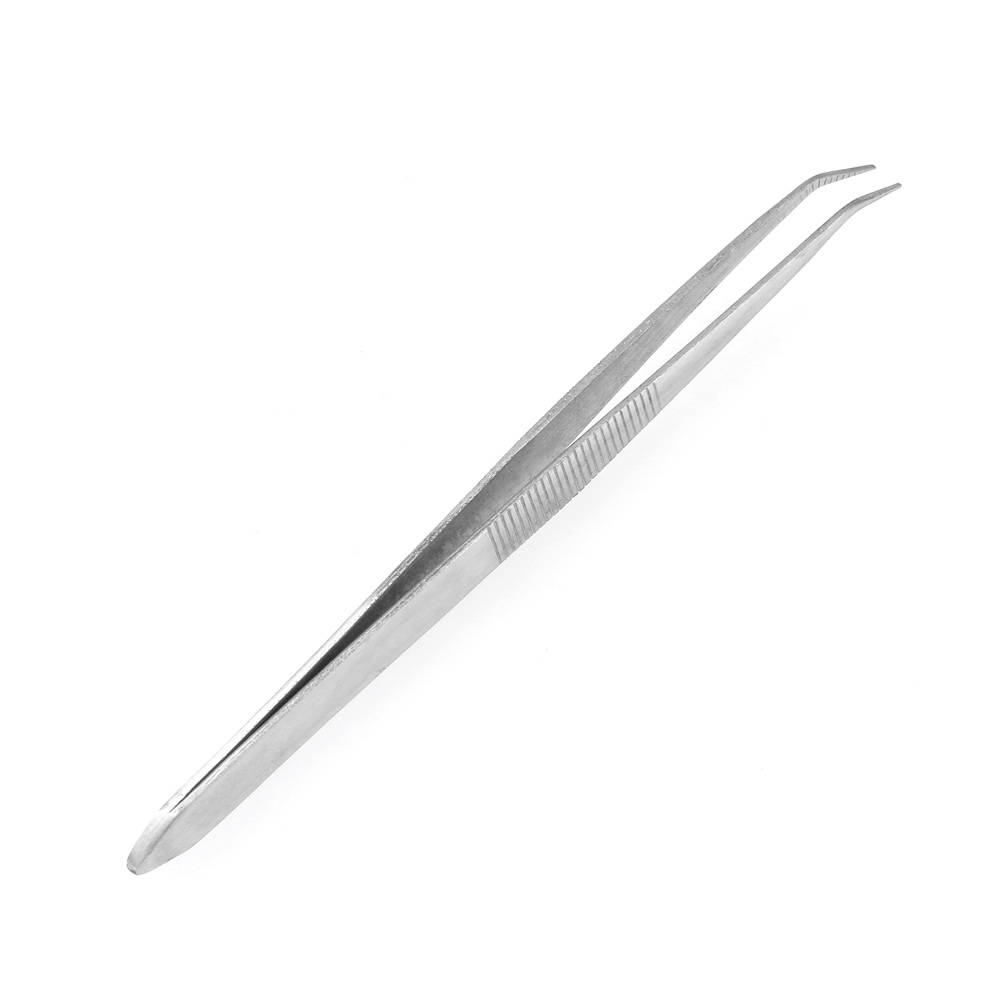
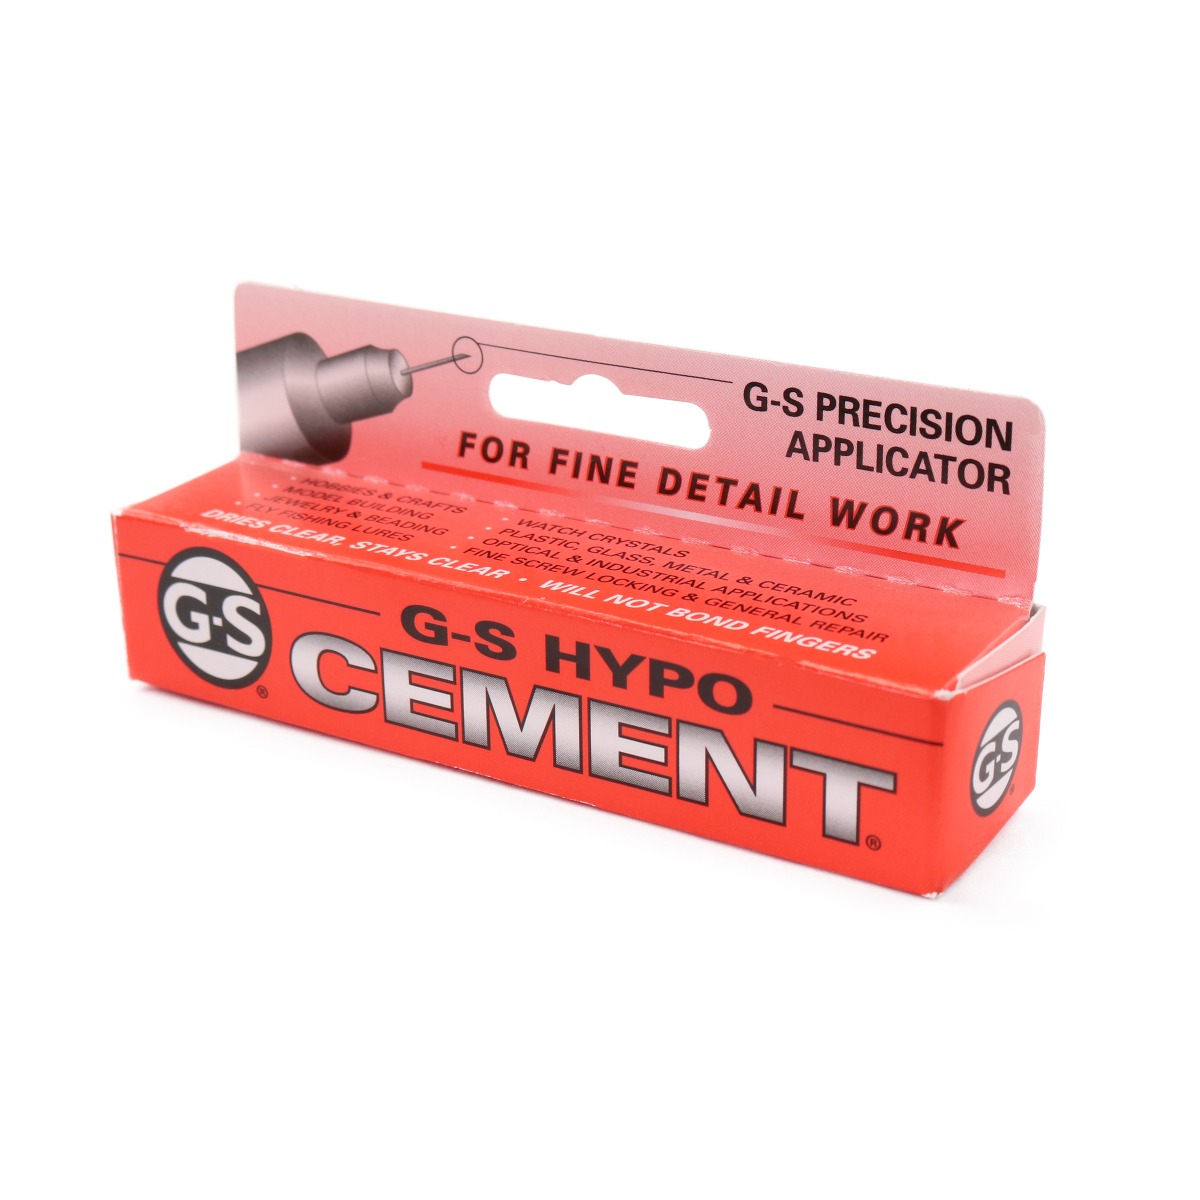
Secure flat back crystals inside stamped divot impressions with jewelry adhesive, and allow to dry. Use tweezers to help set crystals in place, making sure not to scratch the crystals.
Attach a ribbon to the top of the ornament using a Lark’s Head Knot. Fold the length of the ribbon in half at the center. Take the fold and slide it through the hole in the ornament. Take the two ends of the ribbon and pass them through the loop made by the fold of the ribbon. Pull tight to secure ribbon to the ornament.
